Here in Minnesota, RV season is officially underway. Finally the snow is gone, the trees are leafing out nicely, and the spring air is starting to warm up. The time has come to unveil the travel trailer for yet another season of RVing.
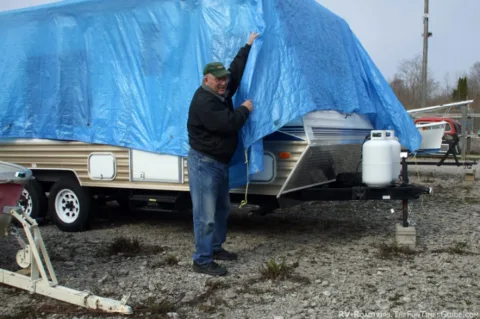
If you prepared your RV properly last fall at the end of the RV season, then it’s probably covered with one of those big blue plastic tarps, at the very least. Or, you might have a quality RV cover instead.
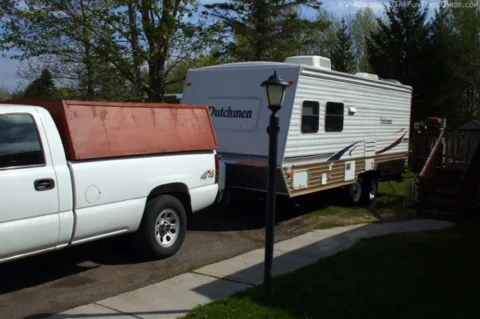
I keep our 24-foot Dutchman RV trailer stored in a fenced storage facility. Unfortunately, I don’t have a garage to keep it in, so mine gets the blue tarp treatment. Minnesota summers are short, so it spends more of the year protected by the tarp then it does in a state of readiness for the road.
Here’s how I prepare our RV each year for a summer of fun on the road…
Inspection After Winter Storage
First, I remove the tarp and prepare to tow it to my home.
But before I move it, I go inside the RV and check for any damage. Minnesota winters can pile over 2 feet of snow on the roof in a matter of a month or so. If allowed to accumulate all winter, many rigs will collapse under the excessive weight. I check mine every few weeks throughout the winter and after any heavy snow falls so I can shovel it off before it gets too deep.
As long as no damage has occurred while the RV was in winter storage, then I reinstall the battery. And, after confirming the brakes and lights work properly, I hitch it up and tow the RV trailer to my house for a complete check over.
How To “Summerize” Your RV
Once safely parked, I start my detailed spring inspection: tire condition, air pressure, and lug nut torque… check!
Next, is the water system. If you used low pressure air to empty the system last fall, all you need to do is close the drain petcock and fill it up. Turn on the pump and pressurize the system. It will fill the water heater, and once pressure has built up it will shut off.
If you pumped RV antifreeze through the potable (drinkable) water tank, pump, and lines, then you will have to flush the system with water. Possibly a couple times to clean up the taste. You may find that sanitizing the water system is the best way to take care of any bad taste or odor. You also may have bypassed the water heater, so don’t forget to redirect water flow into it.
Here’s a DIY method for sanitizing the water system yourself:
Add 1 cup of bleach to a gallon of water and pour it into the empty tank. Then fill the tank and run all faucets until you smell bleach. Let the water system set for 24 hours, then drain and fill with fresh water. Run water through all faucets until there is no longer a bleach smell. This may take a couple tanks of water to eliminate the bleach from the system.
With water in the system, and the water heater FULL (not bypassed), plug the RV trailer into shore power. The reason you should wait until you have the water system full and working is to make sure you don’t accidentally have the electric mode for the water heater turned on. Applying electricity to an empty water heater will burn out the element at best, and burn down the trailer at worst. Next, turn the refrigerator on automatic. It should go to the electric mode of operation and start cooling.
The gas appliances are next. Turn on one of the LP tanks and light the stove burners. This will take most of the trapped air out of the gas line. After they light, turn them off and try lighting the refrigerator on gas. Leave it running because, while driving, it will be on gas and you want to make sure it stays lit.
Follow suit on the furnace and water heater. Hopefully everything works for you. It may take a little patience, as gas appliances can be a little finicky after being stored for months at a time.
The last step, before you load up the pretzels and beer, is to install new batteries in the smoke detector and the carbon monoxide detector. While you’re at it, check the fire extinguisher to make sure the needle is in the green.
My wife and I keep the RV trailer ready to go at all times throughout the summer months. When an opportunity to hit the road arises, it’s only a matter of loading the refrigerator, filling the water tank with fresh water, and off we go.


