It’s bound to happen… whether you got too close to a tree branch while pulling into your campsite, or the neighbor kid decided to practice his baseball skills, chances are, you’ll have to deal with a broken RV window at some point.
Your first thought will probably be to contact the nearest auto glass repair center and have them come out.
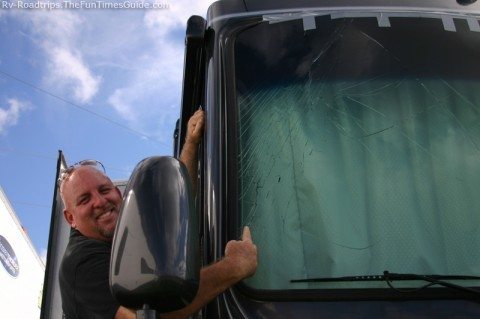
There’s only one problem: unless it’s the front windshield or cab area of your Class C motorhome, they’re probably not going to be much help. Most auto glass repair shops aren’t geared to handle RV windows.
See how auto glass specialists replace an RV windshield on-site.
Now, some tips for repairing the window in your RV travel trailer…
RV Trailer Window Repairs
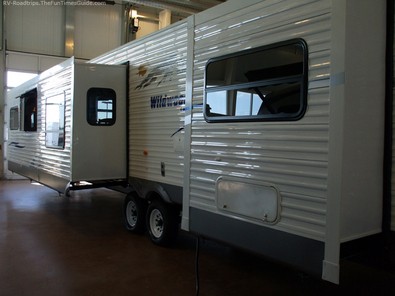
When it comes to travel trailers and fifth wheel trailers, you might have the option to do the work yourself.
This will at least save you the labor cost, though you will still need to order the new window through the original dealer.
There are many different styles, and trim colors to contend with. To continue with matching windows in your RV, the trailer manufacturer is about the best source for replacement window units.
How To Repair An RV Window Yourself
With the new window and frame unit on hand, the project can begin.
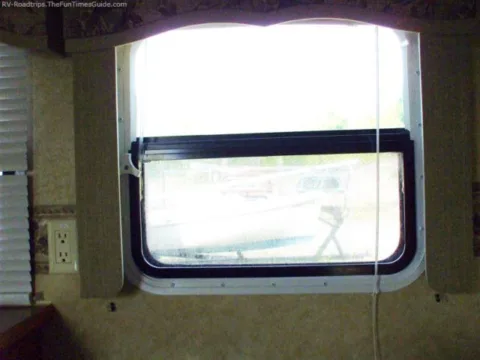
The inside perimeter of the window frame has a series of screws. These screws are what sandwiches the wall between the 2 halves of the window frame.
With a second person on the outside (to make sure the window doesn’t fall out), remove the interior screws and the interior portion of the window frame.
On the outside, you may need a putty knife to help pry the frame away from the side of the RV. Carefully working your way around the window, use the putty knife to break the seal between the putty and the window. Once it breaks loose, the window can be removed and set aside.
The most important thing to do next is to clean the window opening. If the new window doesn’t seal correctly, water will come in and could do some expensive damage very quickly.
Use the putty knife to scrape away as much of the old putty as possible. This is the time to take extra efforts in removing all of the old butyl putty.
With a fresh roll of butyl putty tape, install a new layer around the window opening. With smooth surface fiberglass siding, one layer will probably be enough. If you have aluminum siding that doesn’t provide a smoother surface, lay on 2 layers of butyl putty tape to ensure a good tight seal.
Install the new window into the opening, and press it along the frame to seat it somewhat. Have your helper hold the window in place while you go inside and get the screws started in the inside frame ring. This inside ring is what holds the window structure together.
Tighten the screws, alternating from one side to the other — going a few turns then moving on to the next screw — similar to changing a tire on your car. The reason is you will be compressing the fresh butyl putty tape, and by working your way back and forth you will not put too much stress on any one point. This will help you avoid stripping a screw or breaking the frame. You want the window tight, but then again if you overdo it, you may break something.
When you’re satisfied that you have the window properly sealed, run a light bead of silicone across the top edge of the outside window frame. Continue around the corner and down the sides about 3 to 4 inches. By smoothing this final covering along the top with a wet finger, you’re practically guaranteeing that no water can get in.
With shop labor rates as high as they are, repairing your RV windows yourself is one way that you can save quite a bit of cash. Changing out a damaged window in an RV trailer just isn’t all that hard.
These videos show how to repair an RV window yourself.

