Understanding RV Water Systems
Every self-contained RV has both a clean water system and a waste water system.
- The clean water is also called fresh water or potable water.
- The waste water is also referred to as black water and gray water.
Both, the clean and waste water systems on an RV, can give you problems if you’re not familiar with how to properly maintain them.

When the dealer demonstrated everything to you about the RV you were buying, he may have missed some helpful information that is necessary to keep your RV’s water systems operating properly.
I’m sure after your introductory tour of your RV, you know where the clean water tank and its filler are located.
You probably also know about the drain valves for the waste tank and how to read the monitor panel for levels of all 3 separate tanks (black, gray, potable).
Some RV dealers will breeze through pretty fast and overlook a number of ways that you can make life easier for yourself and avoid problems down the road.
These tips might help.
Here’s everything you need to know about black water, gray water, and potable water on your RV…
Your RV’s Fresh Water System
You’re probably thinking that you just need to fill the tank with clean water, or hook up the hose. It sounds pretty simple, right?
Well, there are a few more things to keep in mind regarding your RV’s clean water system…
RV Fresh / Potable Water Tips:

#1 – Use a certified potable water hose.
Always use a certified potable water hose when filling the tank or hooking to city water. Potable water hoses are easily identified, as they are white in color. By being a distinctive color, they will be less likely to be used for other things that may contaminate them. Potable water hoses are manufactured such that they will not cause a bad taste or odor to the water. Just remember, they should never be used for ANYTHING other than supplying clean water to your RV.
Regular garden hoses are not designed for use with potable water, and they often contribute an unpleasant odor and taste to your water. They may also leach chemicals into your water that could affect your health.
~RV Water Filter Store
#2 – Use a pressure regulator.
Water hoses must always be protected by a pressure regulator when hooked to the city water port of your RV. The regulator should be attached to the end of the hose that hooks to city pressure, NOT the end that attaches to the RV. You want to protect the hose itself from high pressure, as well as the RV water system.
#3 – Disinfect your RV water system.
In the event of contamination, foul odor, or bad taste, you should disinfect your RV water system with household bleach. Here’s how to sanitize your RV water system: Pour 1 cup of bleach to 1 gallon of water into an empty tank, then fill the system. Turn on the pump and run water through all faucets until bleach is smelled. Let it sit for 24 hours — then drain and refill the tank. Run all faucets until the odor of bleach is gone. (It may take a couple tanks of water to get rid of the odor.) Here’s everything you need to know about sanitizing your RV water system.
#4 – Wrap the water hose with heat tape in winter.
When you’re RVing in freezing temperatures, the water hose must be protected from freezing whenever it’s under pressure. It’s best to use as short a hose as possible, install an electrical heat tape, and wrap the hose with insulation. One-inch split foam pipe insulation works well to cover the hose.
A Trick To Shorten Your Hose: In areas where the ground isn’t frozen, you can dig a shallow hole and bury the bulk of extra length of hose. Place the coiled bulk of extra hose inside a clean plastic garbage bag and cover it with dirt. This way, Mother Earth is keeping it warm.
#5 – Insulate the RV water line year round.
High summer temperatures down south can cause a hose under pressure to weaken and split in the same way that freezing temperatures will cause a hose to fail. Be sure to insulate your water line year round when remaining stationary for long periods of time.
#6 – Drain the water tank after each trip.
Make sure to drain your water tank after every outing, in order to prevent a foul odor from accumulating due to stagnant water.
These RV fresh water system tips will also help.
Your RV’s Waste Water System
Here again, it appears to be pretty simple. You just hook up the waste hose, stick it into the sewer drain at your campsite, and open the dump valves, right?
You might be thinking that you’re good to go until you’re ready to leave the campsite. But actually, you’ve just caused yourself some serious problems.
When you hook your sewer hose to the ground sewer connection, many campgrounds and municipalities require you to use an odor tight connector for an odor-tight seal.
This requires a special hose fitting that didn’t come in the courtesy kit supplied with your RV. It may be a 90-degree plastic fitting that fits inside your sewer hose, or it might be a rubber donut ring that goes around the outside of the hose.
Here are some more things you need to know about your RV’s water system…
RV Gray Water Tips:
The gray water is what drains from the kitchen and bathroom sinks and the shower. Since there is no human waste involved, it’s stored in its own tank — the gray water tank.
When you look at your water drain valves, the gray water comes down the smaller pipe because there is no solid matter in the water.
#1 – Don’t use the potable water hose.
When you’re boondocking, you may want to dispose of gray water through a garden hose using the water to supply moisture to vegetation or a garden that may be close by. Do not use your potable water hose to drain your waste tank! Instead, you will need a special drain cap that downsizes the 3-inch fitting to a garden hose fitting.
#2 – Leave the gray water valve open.
When hooked to either a city sewer connection or a garden hose, you can leave the gray water valve open to let it drain as it’s used.
More tips for draining your RV’s gray water tank.
RV Black Water Tips:

Here are some other things you need to know about your RV’s black water tank:
#1 – Don’t leave the black water dump valve open.
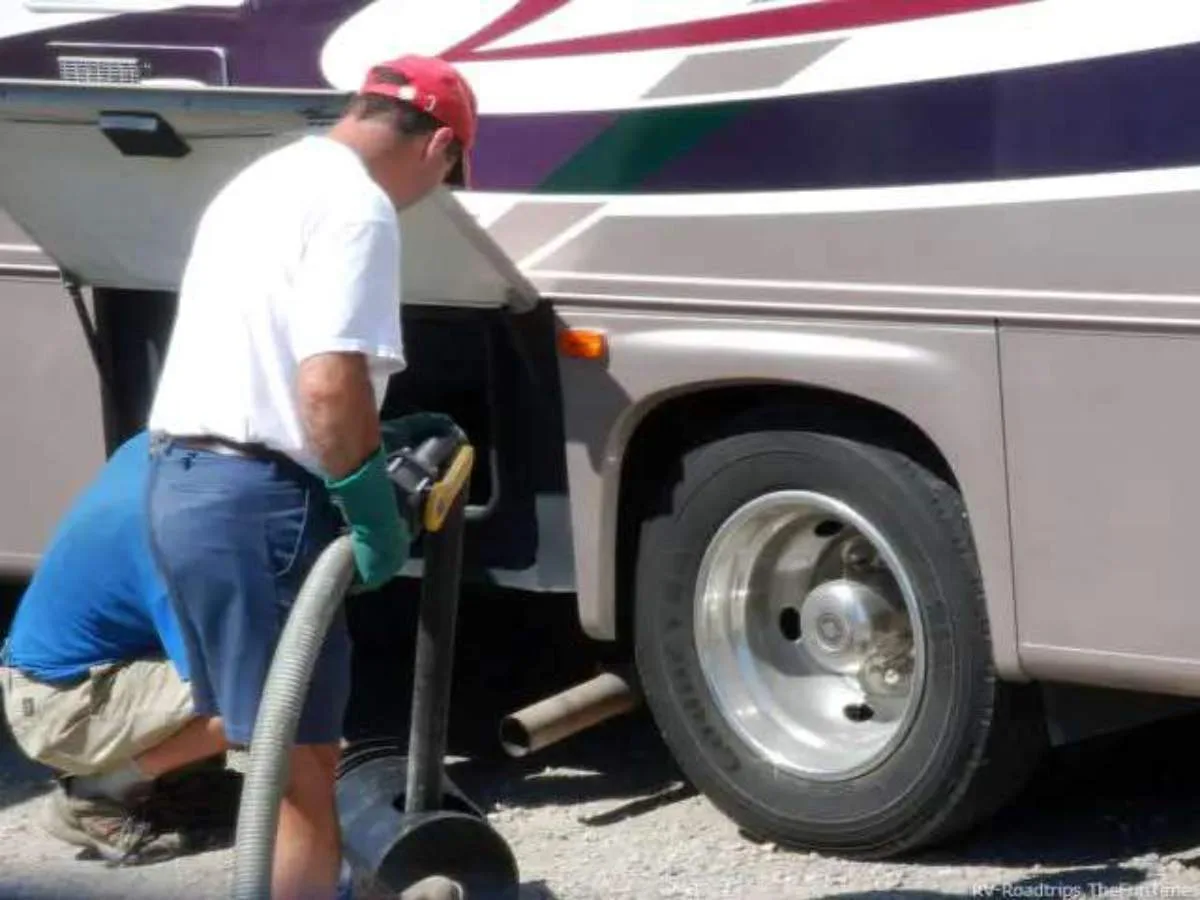
Do NOT leave the dump valve for the black water open when you’re hooked up to a sewer connection at a campsite. By allowing the water to drain away, the solids will accumulate inside the tank. In a very short period of time, the tank will fill with a solid mass and the tank will not drain. You will have a nasty project on your hands if you ever need to clean out a tank in this condition!
Leave the drain valve closed until the tank is getting close to full. This will give the solids time to break down, and the tank will more easily empty completely when you do open the valve.
Having trouble getting your RV’s black water tank to drain properly?
#2 – Use only RV-friendly products.
Always use the approved chemicals in your black water tank. They not only control odor, but they also help break down the toilet paper and solids.
By using special RV toilet paper (or brands that are designed to break down quickly), you will be less likely to have problems with toilet clogs — which are technically black water tank clogs.
#3 – Get to know the RV monitor panel.
Now, about that wonderful monitor panel that indicates the levels of your tank…
The black water light will probably be accurate during your first outing, after the toilet is used for the first few times.
However, it’s likely it will never be accurate again.
Why not? Because bits of toilet paper will hang onto the sensors in the tank giving you readings that range from partially to completely full — even when you know darn well the tank is empty.
TOILET TIP: You could waste a lot of time and effort by flushing the tank with clean water OR driving around with half a tank of water hoping it will clean off the sensors — but still the lights will show that you have a full tank. Don’t bother, it’s not that important. Depending on how many people are using the toilet, just set up a schedule and drain the tank when you think it’s getting close to full. Once a week, every other day, whatever works for you.
#4 – Clean the black water tank frequently.
If you remain stationary as a full time RVer (we lived in our 5th wheel trailer for 2 years without moving it), it’s a good idea to clean your black water tank every so often to eliminate any residual buildup of solids.
The easiest way is to stick an old garden hose (green in color, so you don’t mix it up with the RV’s clean water hose) through the toilet — and with as much water pressure as is available turn, twist, push, and pull it to spray water into as many corners and crevices in the tank as possible.
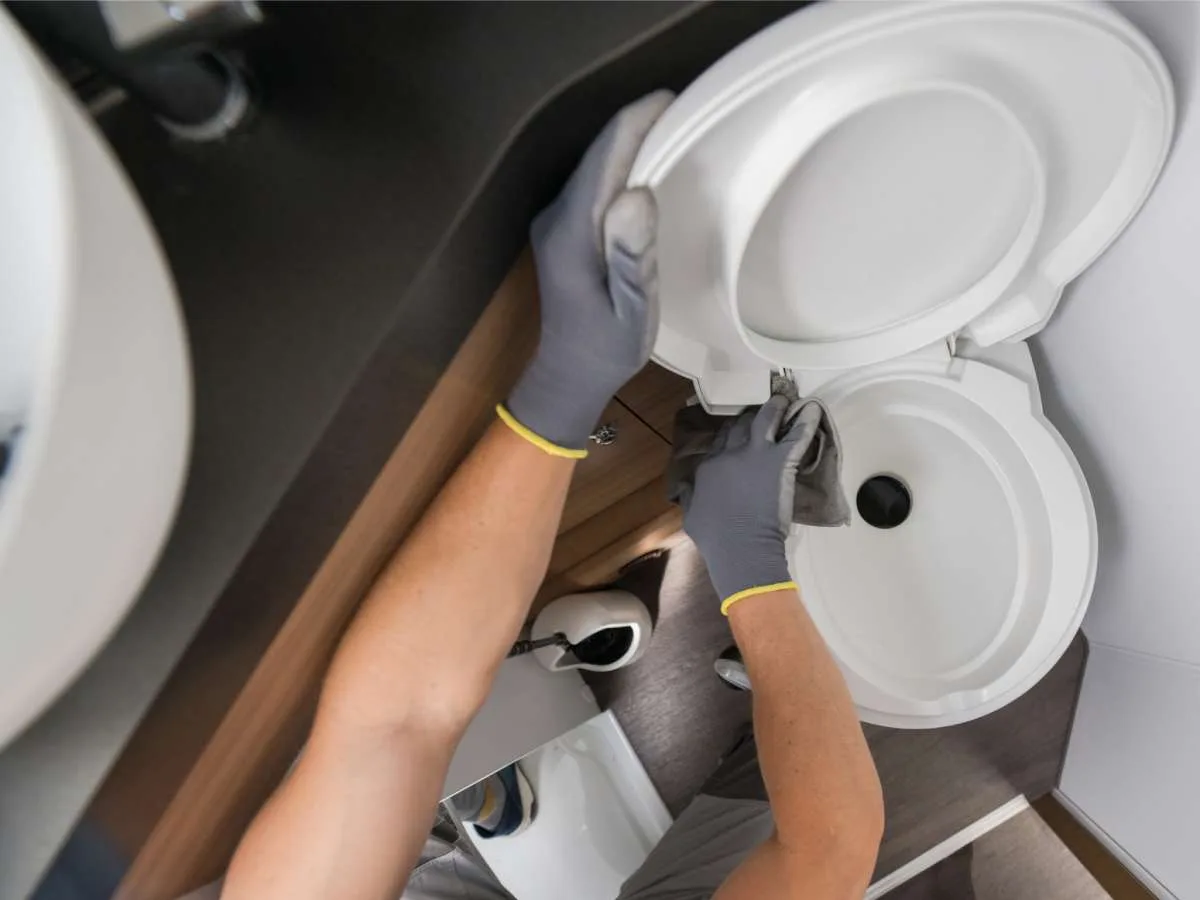
Many toilets drop straight into the black water tank making this chore easier and more effective.
Good To Know…
Many RVs are equipped with enclosed and insulated waste and water tanks.
Some even have heat from the furnace plumbed directly into the space occupied by the tanks.
These RVs are suitable for year round use.
On the other hand, RVs with exposed tanks can’t handle being used in freezing temperatures.
That’s a bonus tip for you… Just one more thing to keep in mind when you’re shopping for your next RV!