Most RV parks and campgrounds are absolutely phobic when it comes to the issue of a leaking black water tank drain valve.
If it’s noticeable driving down the road, it can result in a citation and fine as well.
Not only is it a health hazard, but if enough liquid has dissipated from the tank, then the solids will just accumulate in the bottom of the water tank. That can create a nasty situation when it finally results in a plugged RV waste system.
Replacing the waste valve assembly is a low-cost DIY project that can be accomplished by any RV owner.
Even with some complications, you can get it done without much in the way of special tools. In most cases, it really isn’t nearly as nasty a job as you might think.
Here’s how to do it…
How To Replace An RV Water Tank Drain Valve
Just follow these simple steps:
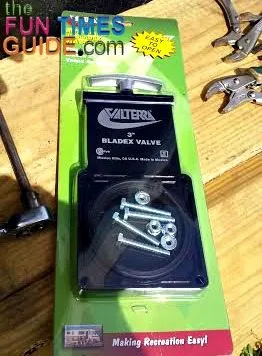
#1 – Purchase a waste valve replacement kit.
There is no fear of getting the wrong one because they are universal in the RV industry.
Everybody uses the same valve:
- The black water tank drain valve is 3″
- The gray water tank drain valve is 1-1/2″
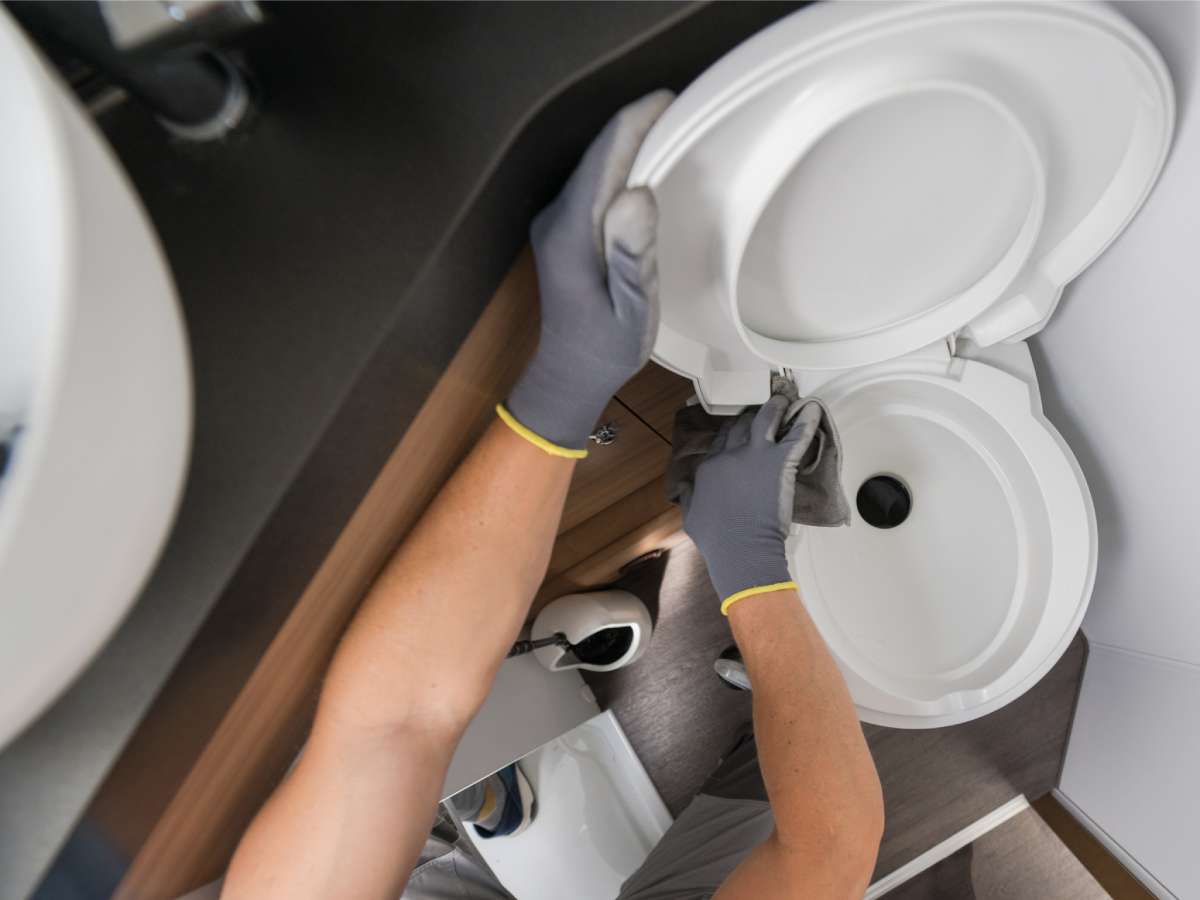
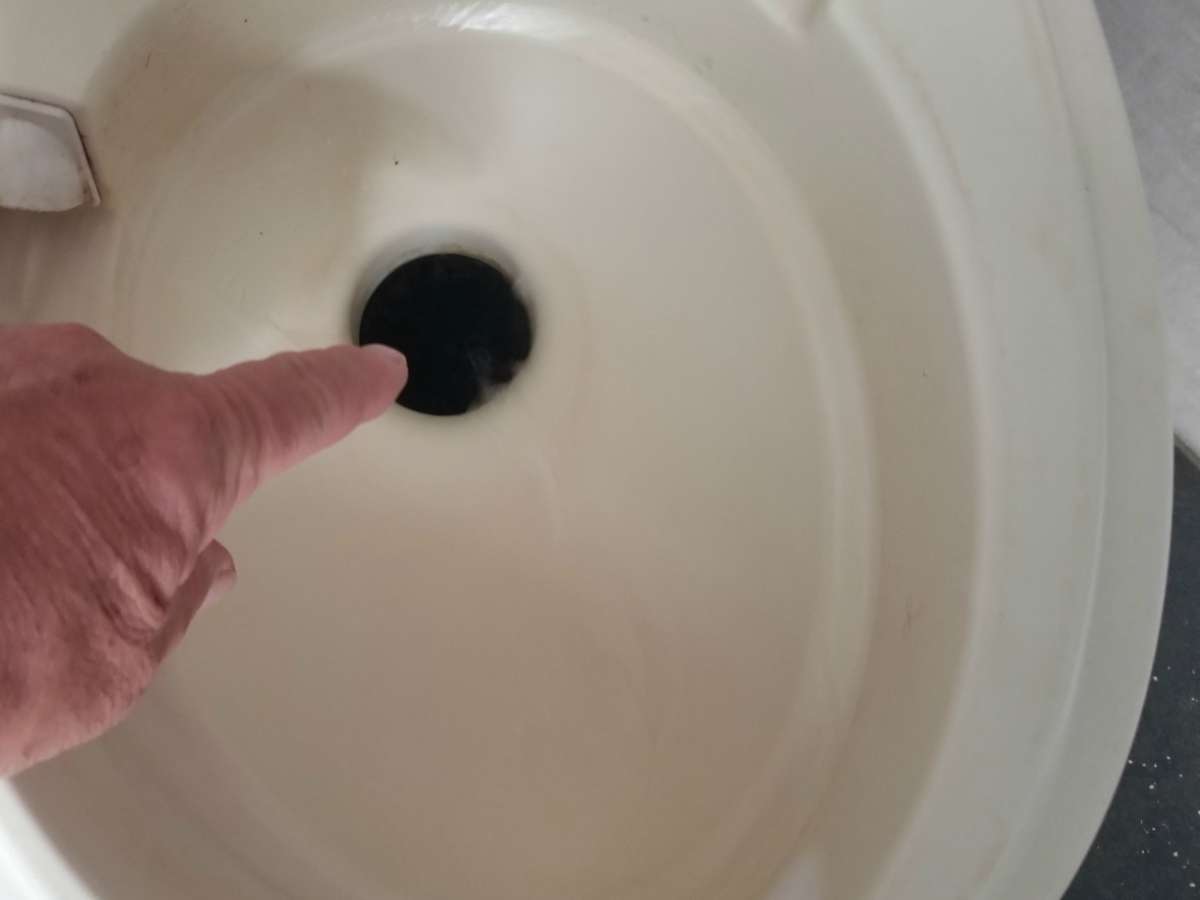
#2 – Drain the tank into an appropriate receptacle, and flush plenty of water through the tank.
It’s recommended that you do this with a garden hose — either hooked to a sprayer system going right into the tank, or by putting the hose down through the toilet.
The more you flush the system, the less offensive the odor will be when you remove the leaking drain valve section.
#3 – Remove the old leaking drain valve.
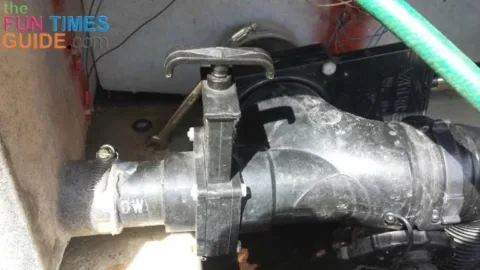
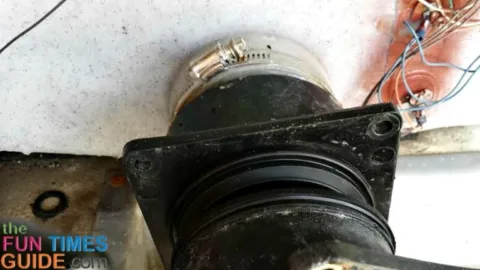
The water tank drain valve is mounted as a removable center section in the whole drain valve assembly. Remove the 4 bolts that hold the assembly together.
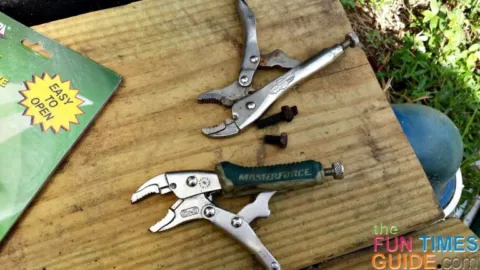
If your RV drain valve has been leaking for some time, then rust and corrosion can seize the threads — making the use of a standard 7/16″ box end wrench impossible. These are only 1/4″ soft bolts.
By clamping a small vice grip plies on the nut and head, you can twist the bolt a few times — which will snap it off. Because it is going through plastic, there is no opportunity for the bolt to be seized in the hole.
After snapping the bolt off, the 2 halves will be easily removable.
#4 – Using hand pressure, separate the 2 end portions of the assembly and remove the leaking drain valve section.
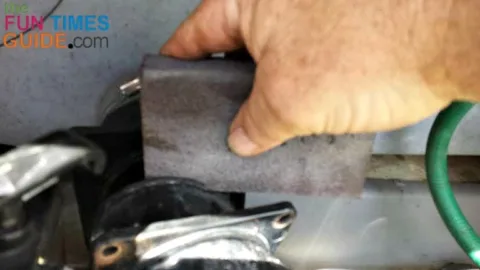
There may be a buildup, or crust of material around the edges of the 2 outer portions of the assembly.
#5 – Using sandpaper, smooth the edges so that the new seals seat properly.
Don’t get carried away, this is plastic you’re dealing with.
#6 – Install the 2 new rubber seals on the 2 (now cleaned) sealing edges of the outer valve assembly end pieces.
There is no need to apply any additional sealant — the gaskets will stay in place by themselves.
#7 – Holding the 2 halves apart by hand, slip the new drain valve section into place.
Be careful not to dislodge the new rubber gaskets from the outer sections.
#8 – Install the 4 new bolts that came with the kit.
Be sure to tighten the bolts at alternating corners — so the new seals seat equally and properly.
The whole process will take you less than 1 hour to complete, and the total cost will be under $20.
If you were to take your RV to a dealer to replace the water tank drain valve, you could easily add another $100 for labor onto the bill — not to mention the 2-week wait to get an appointment.
For a few minutes of enduring a mildly offensive odor, you can save enough money to buy the fuel for you your next RV outing!
Plus, beyond no longer offending your neighbors at the park, you will be amazed at how smoothly and easily the new valve operates.

