Whether it’s the first RV outing of the season or later on when you think all is good, an RV plumbing problem can not only ruin your day, it can trash your RV if you don’t get right on it.
Just like in a house, leaking fittings or cracked pipes can result in water running into places that you may not find right away.
If you’re paying attention and always vigilant about strange occurrences, then you have a better chance of catching the problem before any permanent damage happens inside your RV.
Take it from me. I spent the entire weekend drying out my motorhome after 2 leaks soaked a lot of stuff inside. Fortunately, I was able to get everything to dry out quickly — so it was only a minor inconvenience rather than an expensive RV repair.
Here are a few things I’ve learned firsthand…
How To Confirm An RV Plumbing Leak
The first clue that you may have an RV plumbing leak is your 12-volt DC water pump.
With all the RV faucets shut off, if the RV water pump continues to cycle every couple minutes, then the pressure is bleeding off somewhere — which, in turn, makes the pump turn on and rebuild water pressure.
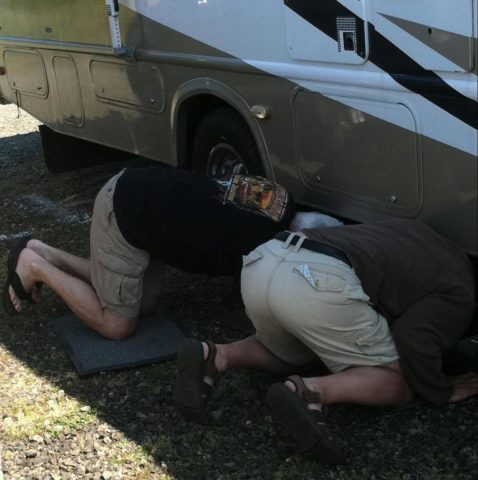
Also, when you walk around the outside of your RV, do you spot water puddles where there should be none? (This is much easier to detect if your RV is parked on a hard surface such as blacktop or concrete.)
Locate Every Source Of Moisture
Once you’ve determined that you do have a water leak and take action to repair the source of the problem, your job is only half done.
Any part of the RV that has become damp or water soaked needs to be dried out — quickly!
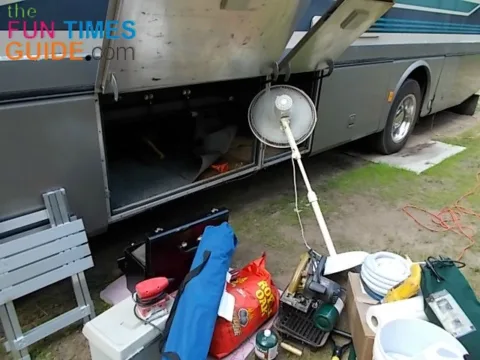
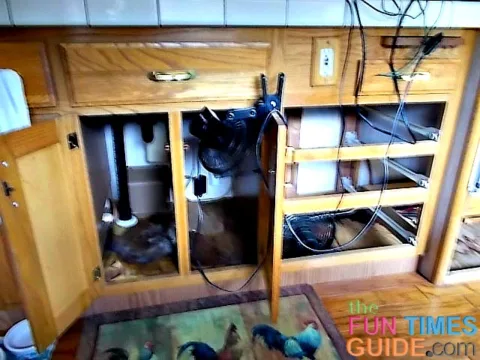
You’ll have to leave interior cabinets and exterior doors open for hours — even days!
Unfortunately, just leaving cupboard doors or storage bay doors open isn’t going to take care the whole problem.
Moisture penetrates much farther in, and drying the surface alone won’t stop rot and mildew from destroying your RV over time.
Many things inside RVs — like cabinets and some floors — are made from pressed sawdust board. Once saturated with water, they crumble away and cannot be saved or reused.
Drying out any moisture as quickly as possible is the only way to prevent your RV from falling apart before your eyes.
How To Prevent Permanent RV Damage
#1 – If the area that’s gotten wet is covered with carpet or rubber mats, then you must peel it back to bare wood.
#2 – Use an electric fan until all of the dampness completely evaporates. This may take days to accomplish. But as long as you’re patient, you might be able to prevent mold from developing inside your RV.
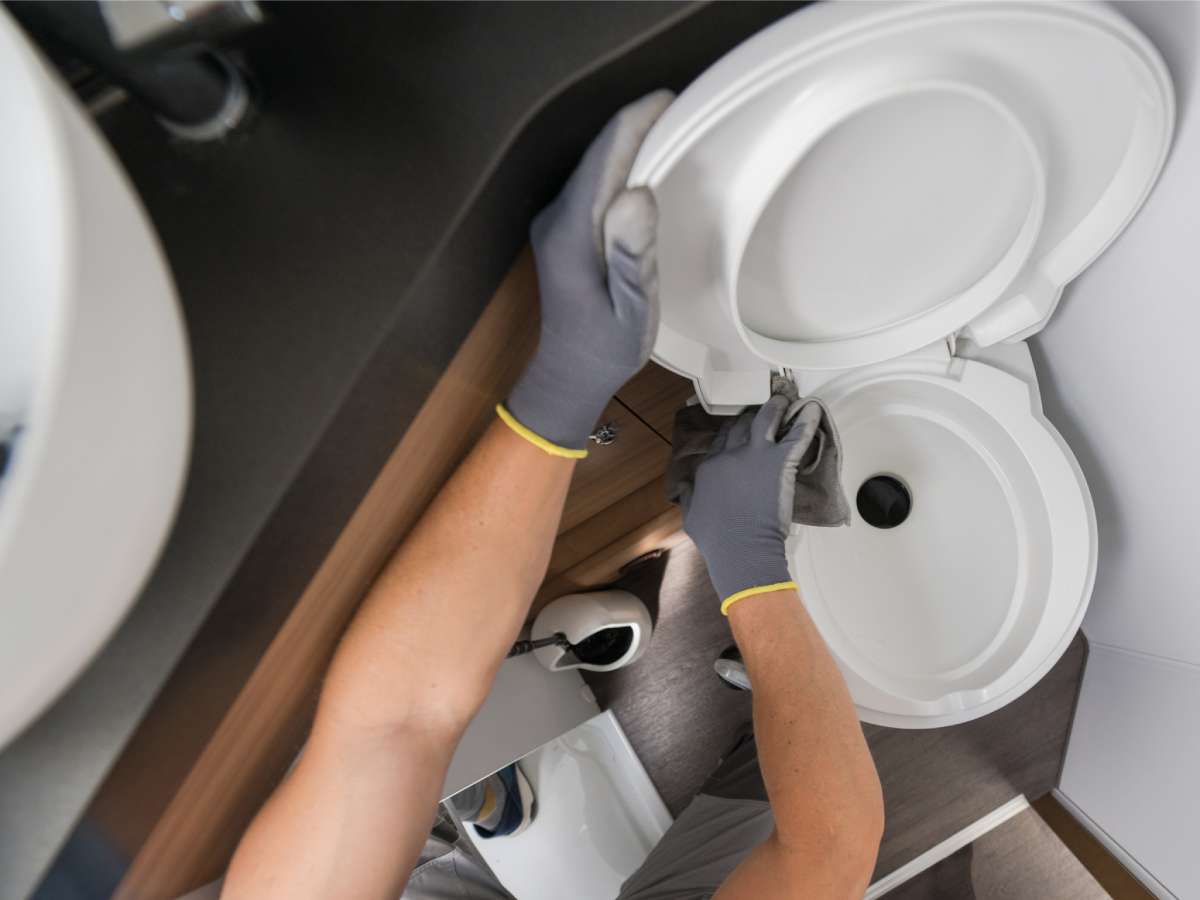
#3 – Before you close everything up after your plumbing repair is done, be sure to run the pump for a few minutes and check every single fitting that you had any contact with. The one you replaced may be fine, but the 2 you loosened or took off to get at it may be leaking now!
TIP: Plumbing fittings are sensitive. Many times, once they’ve been disturbed they will never seal up again. Expect this, and check your work carefully. Being thorough and double checking your work will help you avoid further damage.
#4 – Listen closely because odd sounds may help you recognize problems — like when the water pump keeps cycling it’s trying to tell you something.
If you respond quickly to an RV plumbing leak, you could save thousands of dollars that would be better spent enjoying your vacation instead of making RV repairs.

