This time of year, as the temperatures continue to fall, it’s time to think about winterizing the water system on your RV.
If you wait much longer you’ll have a pretty stiff RV repair bill next year, because the water system in every RV must be protected from freezing!
Just opening the petcock on the fresh water tank isn’t going to do it.
If you don’t drain the water heater and remove all the water from the plumbing, something’s going to burst for sure when freezing temperatures come.
Here’s how to do it…
How To Winterize Your RV Water System
There are a number of ways to prepare your RV water system for freezing weather.
Personally, I choose to use the quickest, easiest method. Over the last 30 years, I don’t recall any plumbing or mechanical failures related to how I winterized my RVs.
To begin with, I will assume that all your RV water tanks are empty. Draining the waste tanks and the fresh water tank after every outing is the recommended approach.
Now, follow these simple steps:
1. Remove the drain plug on the water heater and let it drain completely. While you have the drain plug out, if there is an anode rod attached you can check its condition and replace it when you find it dissolved. With the water drained, reinstall the plug and snug it down.
2. Turn on your electric water pump and open a faucet. Pump what little water that may be left in the lines coming from the water tank to the pump through the system. When there is only air coming out, turn off the pump — and at this time you can disconnect the battery as well. If you have a motorhome equipped with a master switch, you can turn it off.
3. Next, attach an air blow out adapter to your city water inlet. Attach an air hose from an air compressor with an adjustable regulator. With all the faucets closed, start with the regulator backed off at zero psi and increase it until you’re at about 10 psi.
4. Go through the RV, and working one at a time open each faucet and let it run until only air is coming out. Don’t forget the shower and the toilet (and the outside shower, if so equipped). Once you’re satisfied that all the water has been blown out, you can disconnect the air compressor.
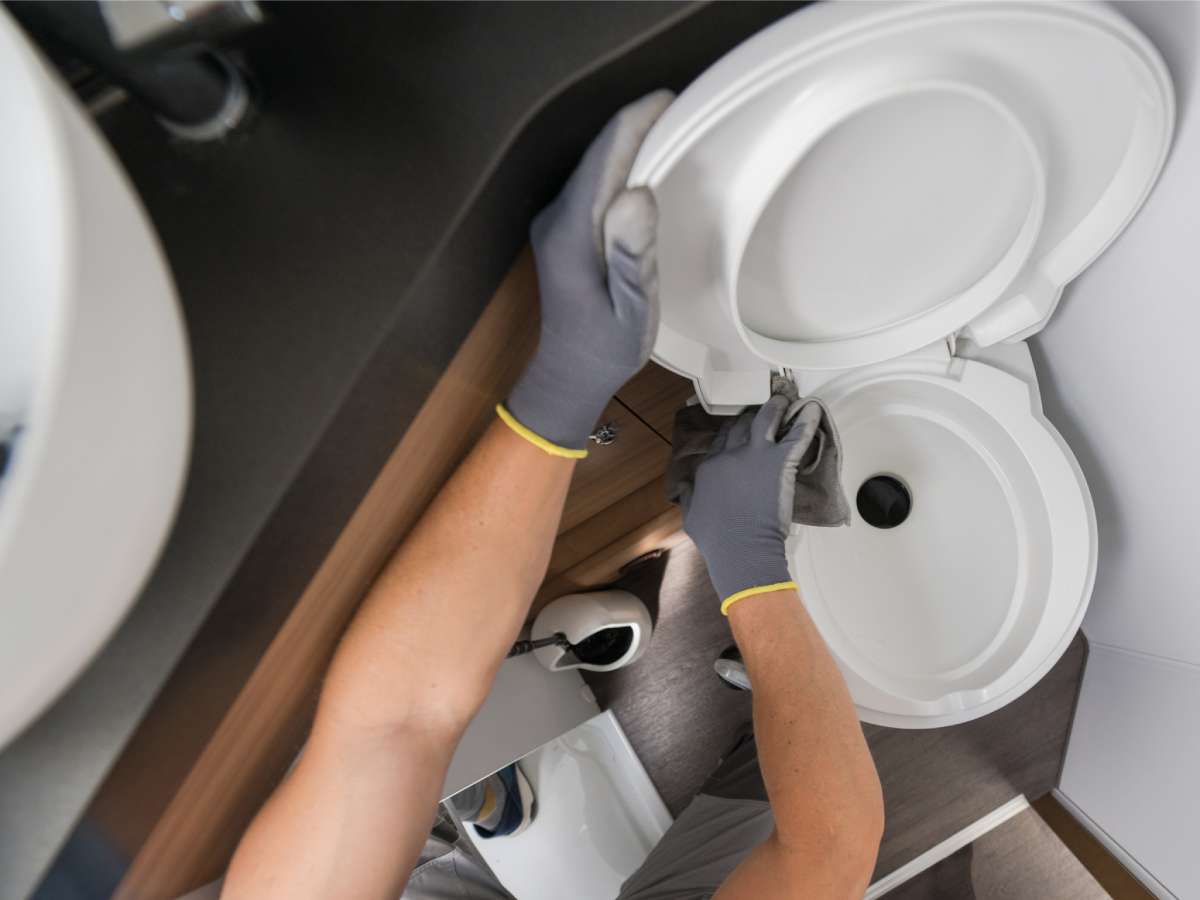
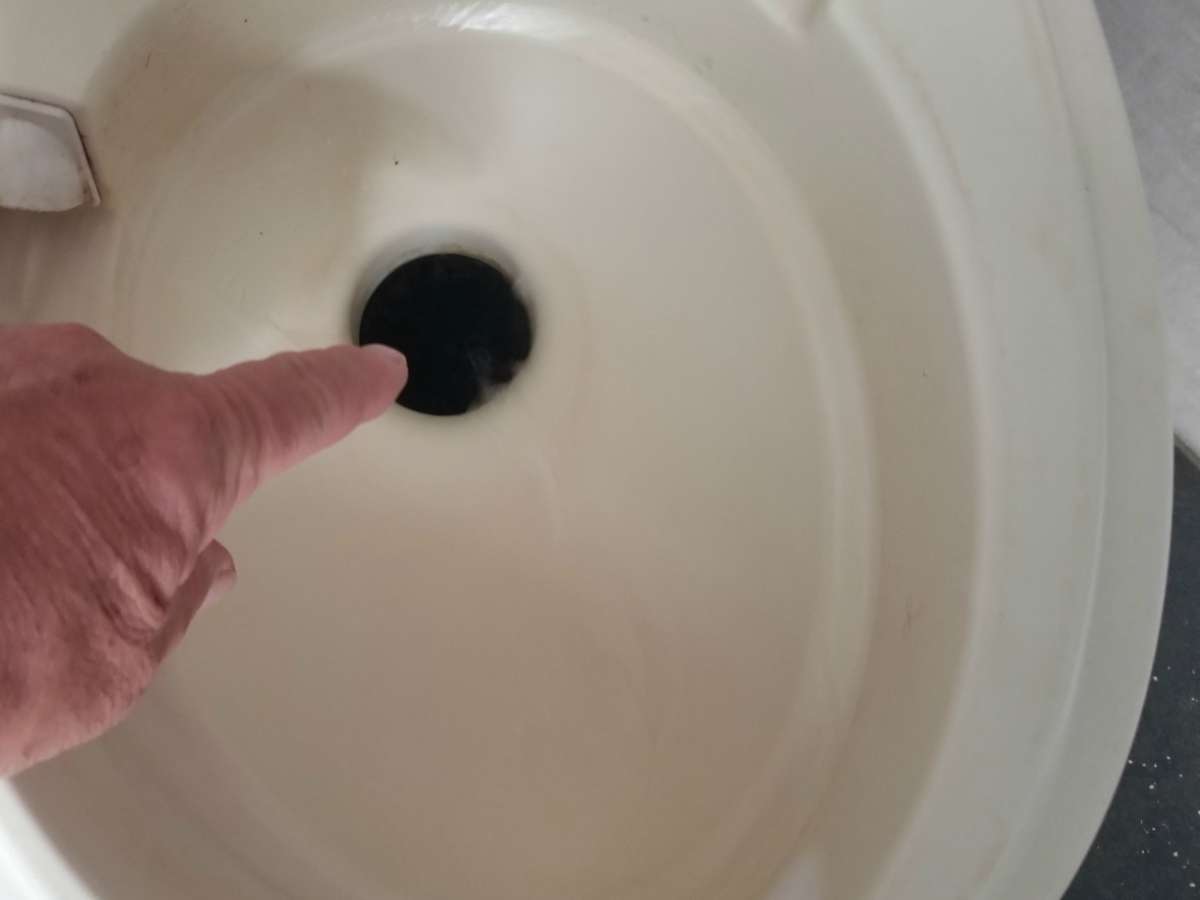
5. Pour about a cup of RV antifreeze into every drain in the RV. Don’t forget to pour a little into the toilet so it doesn’t sit dry all winter. This will prevent the seal on the flush blade from getting stiff and dried out.
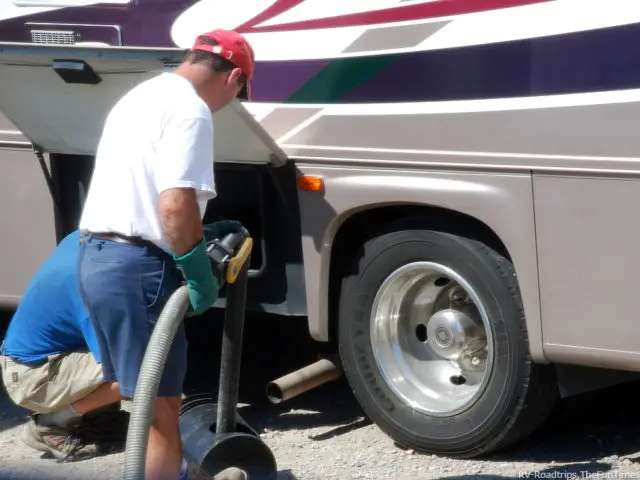
6. The last step is to take a 5 gallon bucket and drain the little bit of water that has now been drained into the waste tanks.


Your RV water system is now protected for the winter ahead!
For Added Protection…
In my personal opinion (at least with the RVs that I’ve winterized), this has been enough protection to keep an RV’s water system from freezing. However, some may want to pump RV antifreeze through the water lines and the water pump to ensure complete protection.
If that’s the direction you choose to take, you will need a few more components:
- A pump converter winterizing kit that will allow you to pump RV antifreeze right from the jug into the pump and continue throughout the water lines.
- A water heater bypass kit that will allow the RV antifreeze you’re pumping through the system to bypass the water heater. Without this kit, you will fill the water heater with RV antifreeze before it goes on through the hot water lines. This could amount to 6 or 10 gallons of antifreeze.
Pumping RV antifreeze through the system may require a few gallons of antifreeze. It depends on how large an RV you have. If you go this route, you will also have to disconnect the water pump inlet line from the RV, as well as install the 2 aforementioned kits.
If you do a thorough job of blowing the water out with air, this whole process becomes unnecessary. A water system that’s void of any water will not freeze. You must be diligent about blowing out all the water, but that’s a lot easier and faster than pumping RV antifreeze through the system, and you won’t have the residual mess to deal with in the spring.
Once spring arrives, be sure to sanitize the potable water system before you get ready for your first outing in the RV. Doing so will clean up any residual bad taste left from the RV antifreeze or any old water that may have remained in the bottom of the water tank. If you don’t sanitize the water system, the first pot of coffee you make will taste awful, that’s for sure!