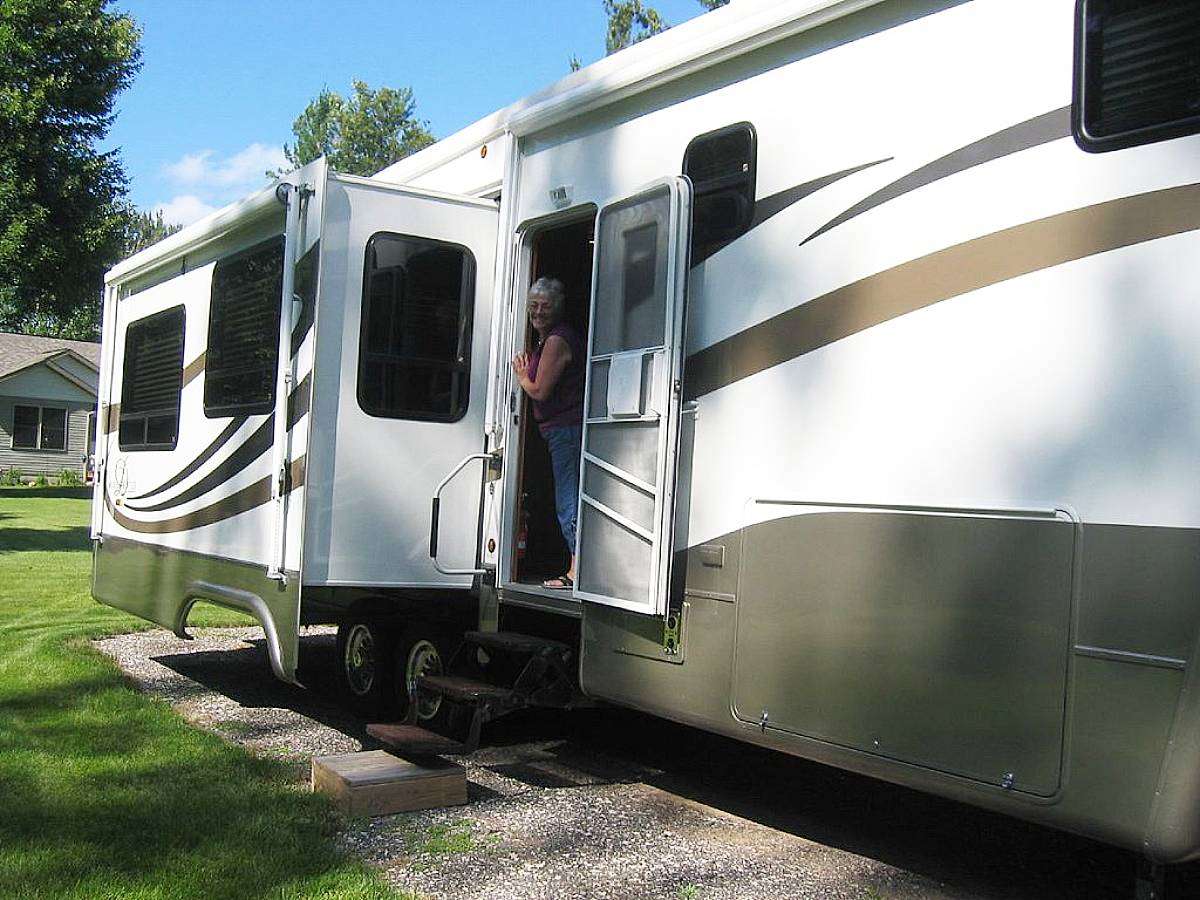
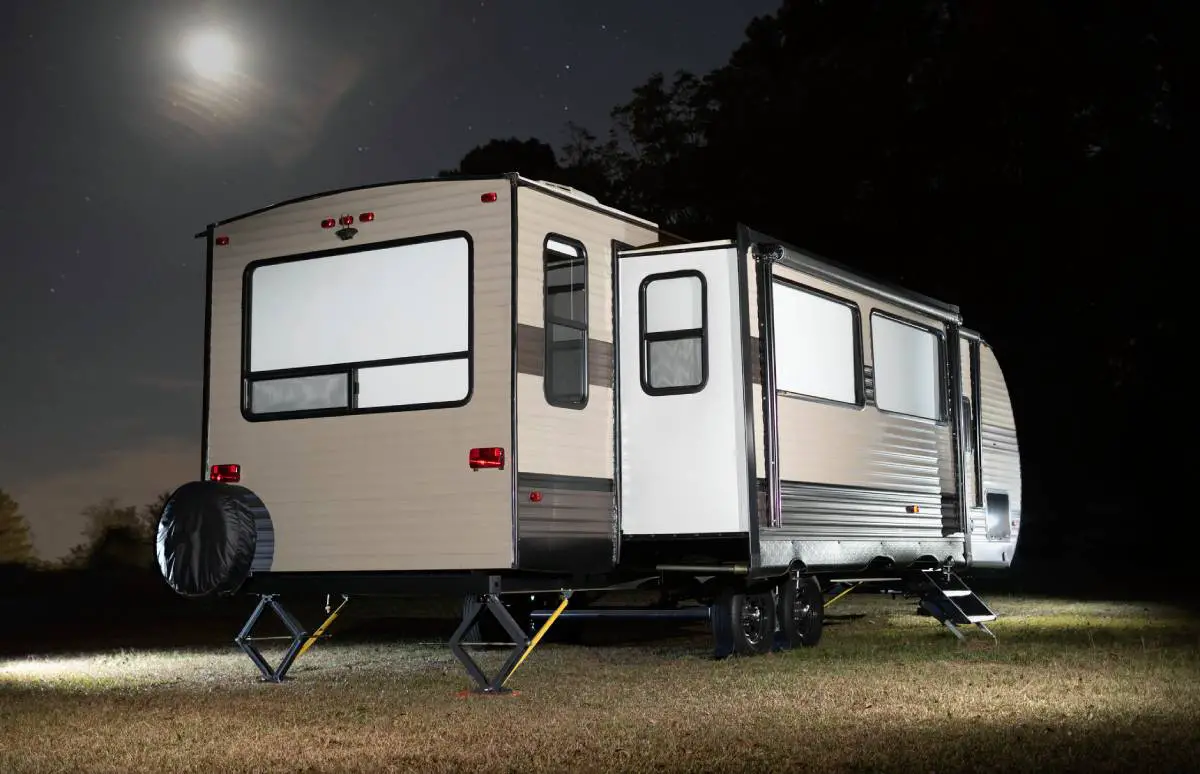
We received the following question from a reader. It concerns water leaking into the RV — possibly from the rear corner.
I purchased a 04 dutchman new off a lot in sw fla in 05. It is a 24′ sport 5th whl. I am not new to rv lifestyle having owned several over the years but this one like most has its issues. Most I deal with and understand. my question is this. What product works best to seal up the rear corners of the unit. They have leaked since day one and after having two reputable dealers work on this problem we have found once again after a long hot summer of fla storage moisture/water on the floor of the rear unit. Our travels are usually within 200 mile round trip and what i think is going on is some type of vibration where the aluminum meets the corner bead eventually breaking the caulk/seal. Does anyone know a product by name that i can use that works for this condition? Thanks
— Paul
Water leaks can cause many a case of baldness. Just when you think you’ve figured out how the water is getting in, a good heavy rain will come along and prove you wrong. Rather than pulling your hair out over the situation, a more methodical water test may be required.
Here are some possible sources of RV water leaks, along with ways to accurately determine the true source of your leak…
Possible Sources Of The Leak
Because water is pooling up on the floor at the rear corners of the unit doesn’t always mean the moisture is coming in through the vertical corner seams.
Water may be entering at the roof seam and traveling along until it has the opportunity to come through the paneling and run down the back wall.
There is also the possibility that water is entering through a bad seal on the roof and running between the rubber roof membrane and the plywood roof. If there is no seam in the plywood, water will work its way back to the first opening it finds to run out. This may be quite a ways from where the water is actually coming into the RV.
How To Find The Source Of A Leak
The first step should be a good water test — one that takes some time, as you may need to allow the water to travel its path before you will see it coming into the interior space. I would recommend using a garden hose with the nozzle set on a wide spray.
Take your time, with one person on the inside watching and another working their way spraying water along all seams, roof vents, and even the siding itself. Don’t forget any windows that may be involved. The air conditioner on the roof is sealed with a foam rubber gasket placed underneath the unit. Be sure to run water around that A/C, as it can migrate to other spots under the rubber roof.
Start your water test from the ground up. As soon as water shows up inside, you’ll know where the problem lies. That way, you’ll know for sure if the leak is in the vertical seem or somewhere else.
If The Leak Is In A Corner…
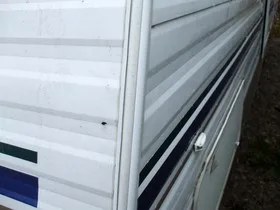
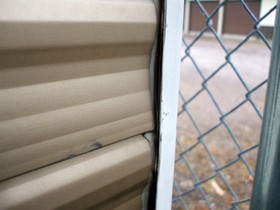
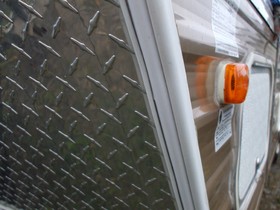
In this case, Paul seems convinced that the problem is located at the rear corners of his 5th wheel trailer. Exterior corner construction of a trailer with aluminum siding is accomplished by the 2 sides being trimmed so that they are close together at the intersection of the corner.
Depending on the type of siding, one or two layers of butyl tape sealer are placed on both sides of the corner. A corner trim molding is then pressed into the butyl tape and screwed into one side of the corner. The corner trim molding then has a vinyl strip inserted, covering the exposed screws that secure the molding in place.
In the process of seating the corner molding into place, excess butyl tape will be squeezed out of the joint. This is a good sign, as it indicates that adequate sealer was installed and the entire cavity around the corner is filled with putty.
This is not a quick and easy job as to seal up the corner properly. You will need to remove the corner molding — all the way to the roof. You will also need to carefully scrape and remove all the old butyl tape, as it will interfere and possibly prevent the new butyl tape from sealing the corner.
The whole process becomes more critical when aluminum siding is involved. Smooth fiberglass only requires 1 layer of butyl tape, as all surfaces are smooth. Aluminum siding has dips and ridges requiring at least 2 layers of butyl tape to fill the gaps.
Over time, if it appears the sealing ability of the butyl tape is being compromised, you might be able to stretch its life by applying a thin layer of silicone over the exposed portion of the trim/siding joint. If there is a serious water infiltration problem, it’s better to completely redo the seam rather than attempt a quick fix.
The key to the whole project is to accurately determine where the water is getting in. It’s quite possible that a much smaller repair will cure the problem. Be sure to check the top of the corner molding, as water can run down the interior side of the molding and reach the interior.
If The Leak Is At The Roof Seam…
For leaks originating at roof seams or vents, the best sealer to cure the problem is Flow Seal — a self-leveling sealer that will be runny when applied and will level out and dry to a firm flexible cover encapsulating the seam or roof-mounted accessory.
If the vinyl insert tape in your corner molding becomes damaged, discolored or brittle, you can freshen up the look of your exterior by replacing it.
Other Possible Scenarios
The key to success in curing any water leak is to take the time necessary to confirm exactly where the water is coming in.
Since Paul stated that he discovered water on the floor when retrieving his unit from storage after a long hot summer, there is one other possible source of the leak worth considering.
When you unhitch a trailer, it is likely that it will be sloped to the rear at the point the tongue will clear the hitch. If the trailer was left in this position with the tail low, the standing water could have come in more toward the front of the RV and migrated to the lowest or rear position.
As you can see, there are many variables involved in determining the source of a leak inside an RV. Hopefully, a careful water test will confirm exactly what’s going on.
Here are 10 RV repairs the average do-it-yourselfer can fix — including RV leaks and water damage.
I’ve been involved in RVing for over 50 years — including camping, building, repairing, and even selling RVs and motorhomes. I’ve owned, used, and repaired almost every class and style of RV ever made. I do all of my own repair work. My other interests include cooking, living with an aging dog, and dealing with diabetic issues. If you can combine a grease monkey with a computer geek, throw in a touch of information nut and organization freak, combined with a little bit of storyteller… you’ve got a good idea of who I am. To date, I’ve shared my RV knowledge in over 300 articles here at The Fun Times Guide! Many of them have over 25K shares.

