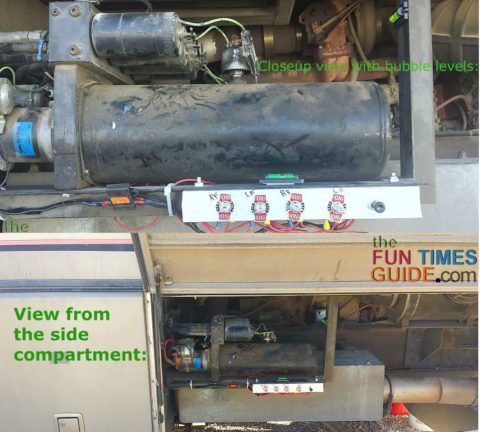
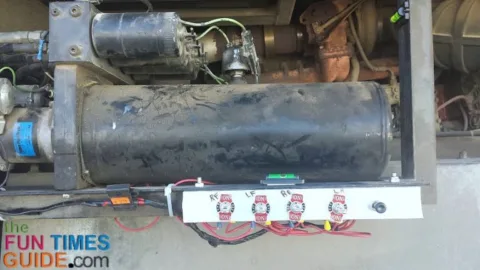
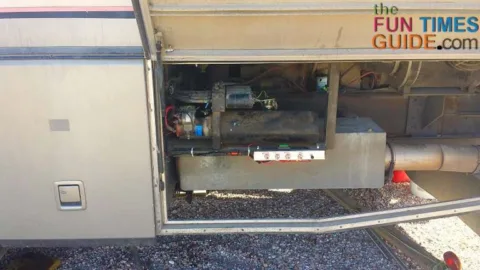
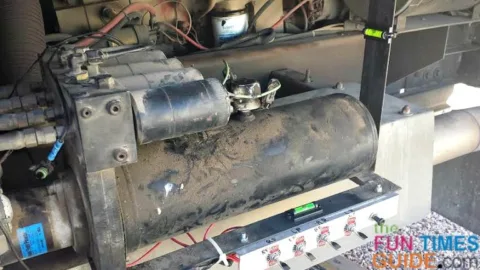
I gave up trying to keep my hydraulic leveling system working like it should and converted it over to manual controls.
At least now when I hit the switch, the jack goes down.
Yep, it was another low-tech solution to a high-tech problem!
Dealing With Broken RV Hydraulic Leveling Jacks
When you purchase an older motorhome, you expect there to be some problems to contend with.
Sometimes keeping these old RVs functioning takes a little out-of-the-box thinking.
Let’s face it, labor rates at most RV dealerships is in the neighborhood of $100 an hour. Parts availability for RV systems that are over 20 years old is going to be iffy at best. Together these issues may make it more costly than practical to return some RV systems to factory original operating condition.
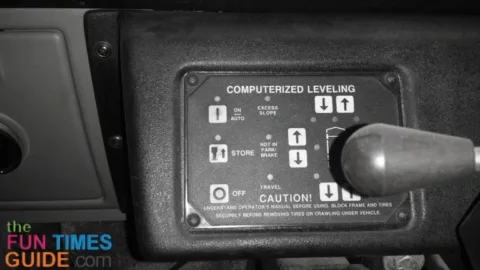
The HWH automatic leveler system is wonderful — when things work as advertised. Sitting in the driver’s seat, you push one button and, like magic, your motorhome wiggles around until it is perfectly level!
But when the computerized electronics fail, you have an interesting switch panel that is useless.
With 4 perfectly good hydraulic jacks plumbed to a perfectly good hydraulic pump and valve system, it seemed a waste to just get by with driving the old RV up on pieces of wood to level it out.
It was time to convert the levelers to simple manual operation.
Here’s how I did it…
My (New) Manual RV Leveling System
Making the conversion is pretty straightforward.
All you need is 4 switches that are momentary on. That means when you release the switch, it returns to center — and turns off.
You also need an on/off switch that will control the hydraulic pump.
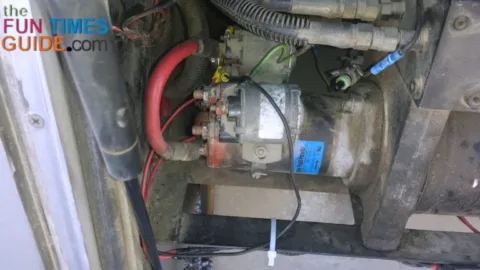
Power is supplied to the hydraulic pump motor through a battery cable attached to a relay. Retain that relay, and simply disconnect the wiring coming from the computer control.
Run a wire to a new on/off switch — to turn the pump on manually.
Likewise, disconnect the computer controlled wiring to the hydraulic valves, and individually wire them to separate switches.
How To Use The New Manual RV Leveling System
To lower the jacks and raise the RV, turn the pump switch on and operate the switches until your RV is level.
To stow the jacks for travel, simply operate the valve switches without turning the pump on.
NOTE: When power is applied to the solenoids on the valve, they open and drain off the oil in the jacks. Because they have external springs to retract them, they will go into the stowed position when the valve is opened.
In most cases, the hydraulic system will be mounted somewhere in the rear of the RV. You can mount your switch panel anywhere that is conveniently close to the pump.
Of course, this now means you can’t level your RV from the driver’s seat — but having an operating leveling system for the cost of a few inexpensive switches is a pretty fair trade-off.
To know when you have the RV level, you’ll have to install a couple of bubble levels nearby — to use as a reference when leveling.
This may not be the solution for every instance. But if the leveling jacks have external springs that retract them, this conversion is pretty simple.
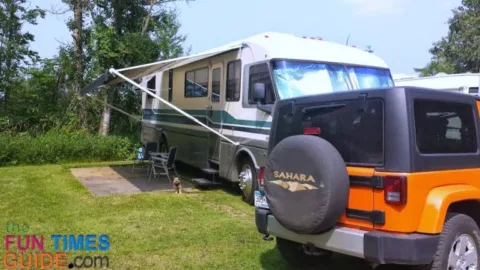
For around $20 my old Pace Arrow RV is level and stable once again!
Computerized control is wonderful — when it works. After those controls have lived their life and become unusable, there is often a simpler way to get the same job done.

