Once you’ve mounted solar panels and installed the roof vent and TV antenna in your cargo van, it’s time to move inside.
Installing insulation is the next step.
An empty van with no sound deadening qualities will echo like an empty soup can! At highway speeds, you won’t be able to hear the radio — or talk to the person next to you — without raising the volume to really uncomfortable levels.
Once the following steps are done, the inside of your van will be a whole lot quieter while driving down the highway!
My Cargo Van Insulation Tips
The Nissan NV 3500 cargo van makes installing insulation a breeze!
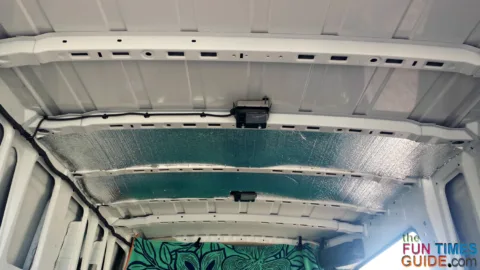
Since it’s constructed with cross-ribs spaced similar to a house (and vertical ribs equally spaced), you can cut lengths of 1-inch Styrofoam panels and just press them in place.
TIP: I recommend Styrofoam because it’s impervious to moisture. If it should happen to get wet… once dried, it’s good to go.
#1 – DIY Van Floor Insulation Tips
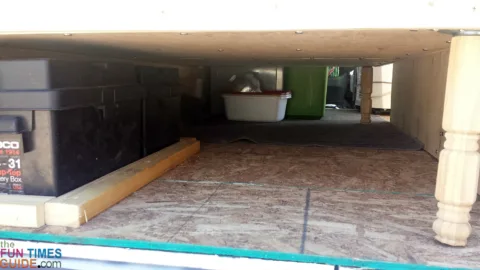
The first step is to install the subfloor.
How to do it:
Lay down a layer of 1-inch Styrofoam insulation, cutting around the wheel wells and covering the entire floor space.
Follow up with a layer of 1⁄2-inch oriented strand panels — which will make up the subfloor.
When the whole project is completed, there will be a finished floor installed on top of the rough subfloor.
#2 – DIY Van Roof Insulation Tips
Using a hand saw, jig saw, or practically any other saw you may have… cut the required lengths of Styrofoam about a quarter inch wider than the space where you intend to install it. That way, friction will hold it in place — requiring no further attachment to the van’s walls.
How to do it:
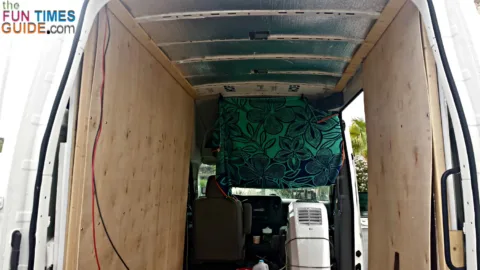
First, wherever possible cut panels and press them into the space between the cross-ribs on both the ceiling and the walls.
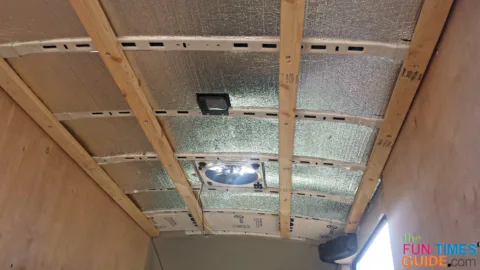
TIP: Furring strips and wall sections will be required to keep the second layer of insulation in place. That’s right… second layer. You can’t have too much insulation! And since the first layer of the roof/ceiling insulation was installed between cross-ribs, running furring strips the length of the van will give you 100% coverage over the entire roof. This same thing will happen on the side walls — because the wall sections you build will not line up with existing wall ribs — again giving you 100% insulation overall.
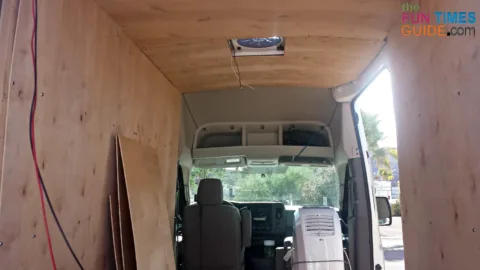
Install four 2x3s running the length of the ceiling (8-foot lengths worked perfectly for me, with no trimming). Lay them with the 3-inch side against the roof — so you will have the most possible floor-to-ceiling height.
Use 2-inch self-drilling hex head screws to attach the furring strips to the ceiling cross-ribs, being careful not to puncture the roof metal.
Run the screws into the furring strips far enough to be flush with the surface of the 2×3. That way, the plywood sheeting for the ceiling will lay flat and even over the whole span of the roof.
TIP: 1⁄4-inch Luan plywood makes a good quality, low-cost paneling material that can be either painted or covered with polyurethane to provide a nice wood grain look for both the walls and ceiling.
Again, cut lengths of Styrofoam insulation about 1/4-inch wider than the space you are filling, and fill the spaces between the furring strips.
#3 – DIY Van Wall Insulation Tips
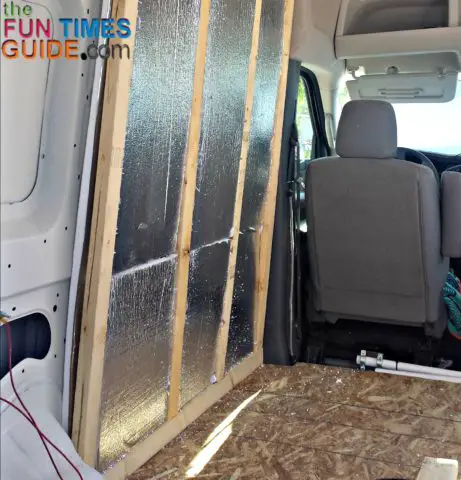
Once your ceiling is completed, construct sidewall sections framed up so that they will just fit between the surface of the subfloor and the bottom of the outermost ceiling furring strip.
Using the same smaller 2×3 framing material for your wall sections will lessen the thickness of your side walls, giving you the maximum interior width possible.
Turning the 2×3’s sideways will make your wall panels even thinner.
How to attach:
- Attach the bottom of the panels to the subfloor with sheet rock screws, being careful not to puncture the metal floor.
- Attach the top of the wall panels to the metal roof ribs with self-drilling hex head screws, also being careful not to puncture the roof metal.
Don’t forget to fill the space between wall studs with a second layer of Styrofoam panels — cut a little bit wider than the space you are filling (so they will fit securely).
NOTE: The trim required to finish off this part of the project will be installed at a later time to allow for running wires and cables for appliances and such.
Like this post? Save it to read again later… or share with others on Pinterest!

