Living full time off the grid and wanting a life that’s as close to normal sometimes means you have to tailor your Solar Power System to meet your specific needs.
There are a few rules in solar power that are a given.
Not following these rules will cause either premature failure or excessive smoke — combined with immediate destruction of components, or worse.
Here’s what you need to know. Plus, some clever ways to set up your RV Solar Power System…
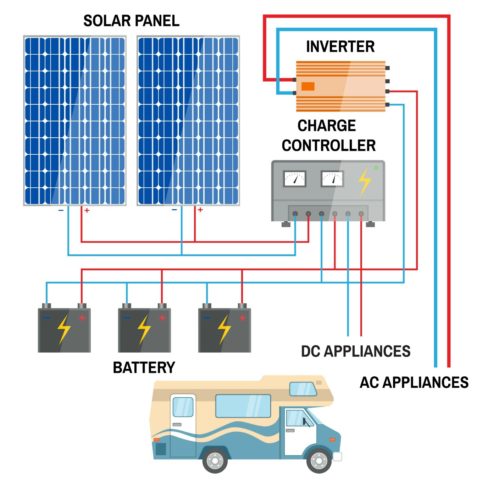
Solar Array Definition: Combining several solar panels creates an array, which is part of your solar system. The size of your solar array depends on where you live, the position of your roof and the energy needs of your family.
~ Source
Your RV Solar System’s Batteries
To get maximum performance and longevity from your batteries, all must be of the same type, size, and age.
That means you cannot hook deep-cycle lead acid batteries together with AGM or lithium batteries. You also cannot hook different sizes of similar type batteries together.
If you mix and match batteries together, your battery bank will only charge to the level of the worst battery. So that 5-year-old battery, when hooked with new batteries, will degrade the whole lot and give poor performance.
Mixing battery types will limit the amount of charge, as different types of batteries charge at different rates.
Wiring Tips For Your RV Solar Power System
Each size of wire has a different current rating.
When you hook multiple solar panels together, you must observe these limitations — as too much current will create heat, insulation could melt, and a short could cause a fire.
So how do you handle a situation where you need to combine 400 watts of solar panels, 10-gauge solar rated wiring, and 2 different sizes of batteries?
Here’s how…
Solar Panels In Parallel Arrays
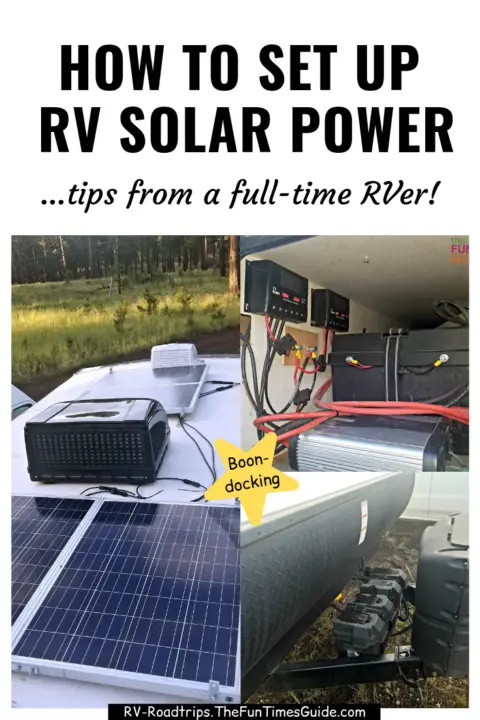
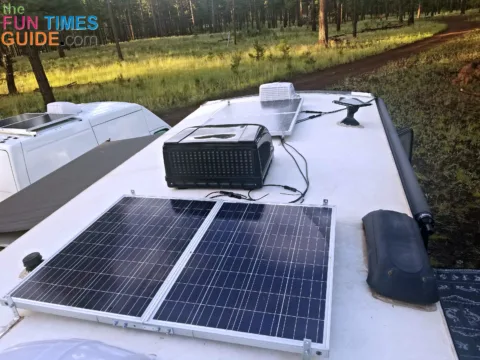
In my case… with four 100-watt solar panels to work with, the solution was to connect 2 solar panels together in a parallel configuration. This creates a 12-volt, 200-watt combination.
Do the same with the second set of 2 solar panels — so you have 2 separate 12-volt, 200-watt solar panel arrays.
Parallel configuration means you have connected the positive wires together and the negative wires together. This keeps the voltage the same, but doubles the amperage.
24-Volt Charge Controller
10-gauge solar-rated wiring is rated to handle 30 amps. To safely stay within these limits, it’s recommended that you limit your solar array to 200 watts when connected in parallel.
Many (but not all) charge controllers will accept higher voltage from the solar panels — automatically recognizing when you have bumped up to a 24-volt system.
The output to the batteries is still the same 12 volts, so nothing special needs to be done on that end.
You can up your wattage to 400 watts through this same 10-gauge wiring by doubling your voltage and leaving your amperage at the same level — using a Series configuration.
Solar Panels In Series Arrays
Series configuration means you hook the positive on one panel to the negative of the other panel.
In the parallel panel segment, we have created 2 separate 200-watt solar arrays. To combine these into one 400-watt array, you need to hook them together in series.
That means you take the combined positive wires from one set and hook them to the combined negative wires from the second set.
You then have the remaining 1 positive connection and 1 negative connection to send through the 10 gauge wires down to the charge controller.
By doing this type of arrangement you’ve created a series-parallel array.
Must read: Series vs. Parallel Wiring Connections
Solar Panels In Series-Parallel Arrays
The advantage of the series-parallel configuration is that you’ve increased the output wattage to 400 amps — enough to power most anything you want (even in mediocre weather, where your solar panels are not getting maximum sunlight).
You’re able to still use the standard 10-gauge wires — because you’ve kept the amperage within its limitation by doubling the voltage.
The smaller the size of copper wire, the less expensive and more flexible it is for installation throughout your RV.
Different Batteries
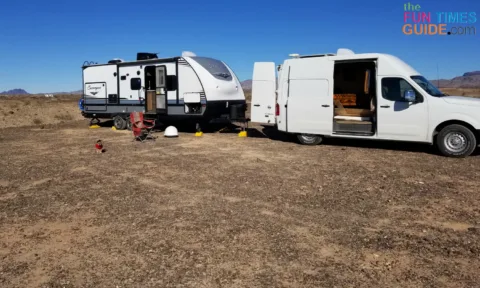
In my case, the travel trailer came stock with two 75-amp hour batteries. That’s adequate to run most systems of the stock RV for a day or two.
However, that’s not adequate to run the 2,500-watt inverter, widescreen TV, satellite receiver, automatic satellite dish, computer, and other incidental electronics that are required for my “normal life”.
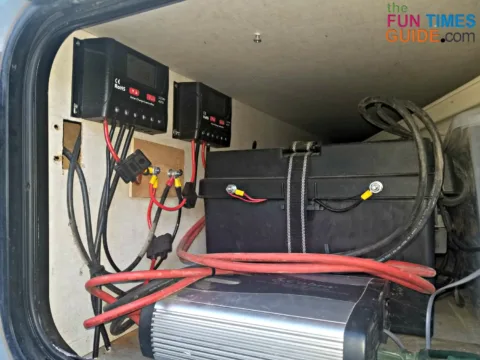
Not wishing to discard 2 new (perfectly good but too small) batteries, I opted to set up my RV solar power system with 2 battery banks — individually charged through 2 separate charge controllers.
With plenty of solar panels on the roof, their output goes to each of the 2 charge controllers — which each go to separate battery banks.
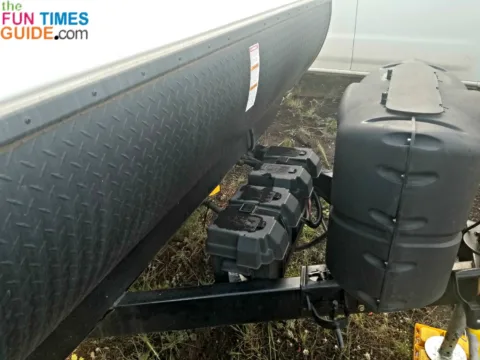
The original 2 batteries on the tongue of the trailer provide power to the standard equipment RV systems and an additional bank of three 120-amp hour batteries, located in the front storage compartment.
By each bank having its own charge controller, the issue of different sizes or types of batteries has been addressed.
400 watts of solar panels is more than adequate to take care of both battery banks.
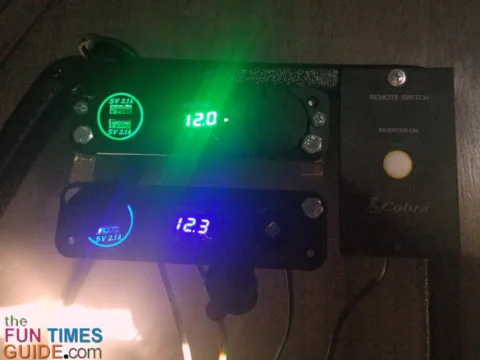
There are digital displays next to the bed to indicate the voltage of each separate battery bank. And there are USB and 12-volt connections to take care of my electronic needs.
Watch my video tour of this series-parallel solar power system — to get more ideas of how you can tailor your RV Solar System to make use of the full potential of your equipment:
Like this post? Save it to read again later… or share with others on Pinterest!
