When it comes to RV furniture like the RV dinette and other seating options, no matter how long you search for the perfect RV layout for your situation, you will never be able to check all the boxes on your list.
For me, the 3 most important items inside an RV are:
- A decent bed
- A decent shower
- A decent kitchen
I’m possibly more choosy than most — but I live full time in my RV and didn’t want to settle.
The one thing I had no real control over was the RV dinette.
Do You Really Need An RV Dinette?
While a dinette may be needed by families who travel, I have little use for seating for up to 6 people at meal time.
Since I don’t have a sofa in my RV, the only place I’ve had for seating is the dinette. But it’s got thin, uncomfortable cushions, and it isn’t in direct line with my widescreen TV.
For 2 years, I just accepted the situation. But now the newness of my travel trailer has worn off, and it’s time to make things more comfortable for me.
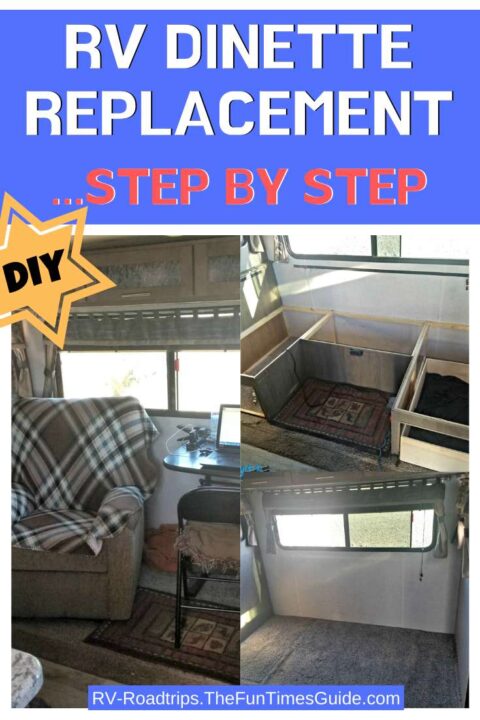
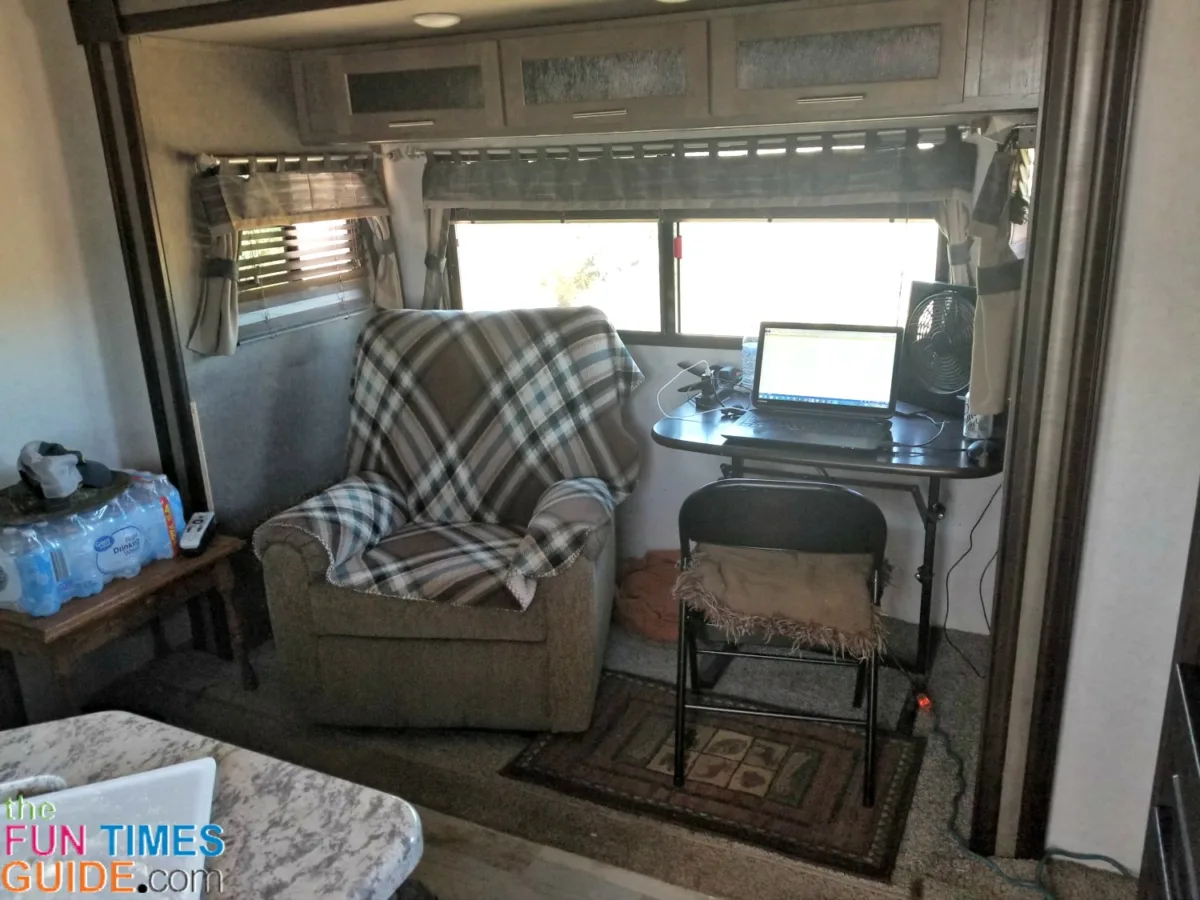
Here’s how I removed the RV dinette and replaced it with a comfy recliner…
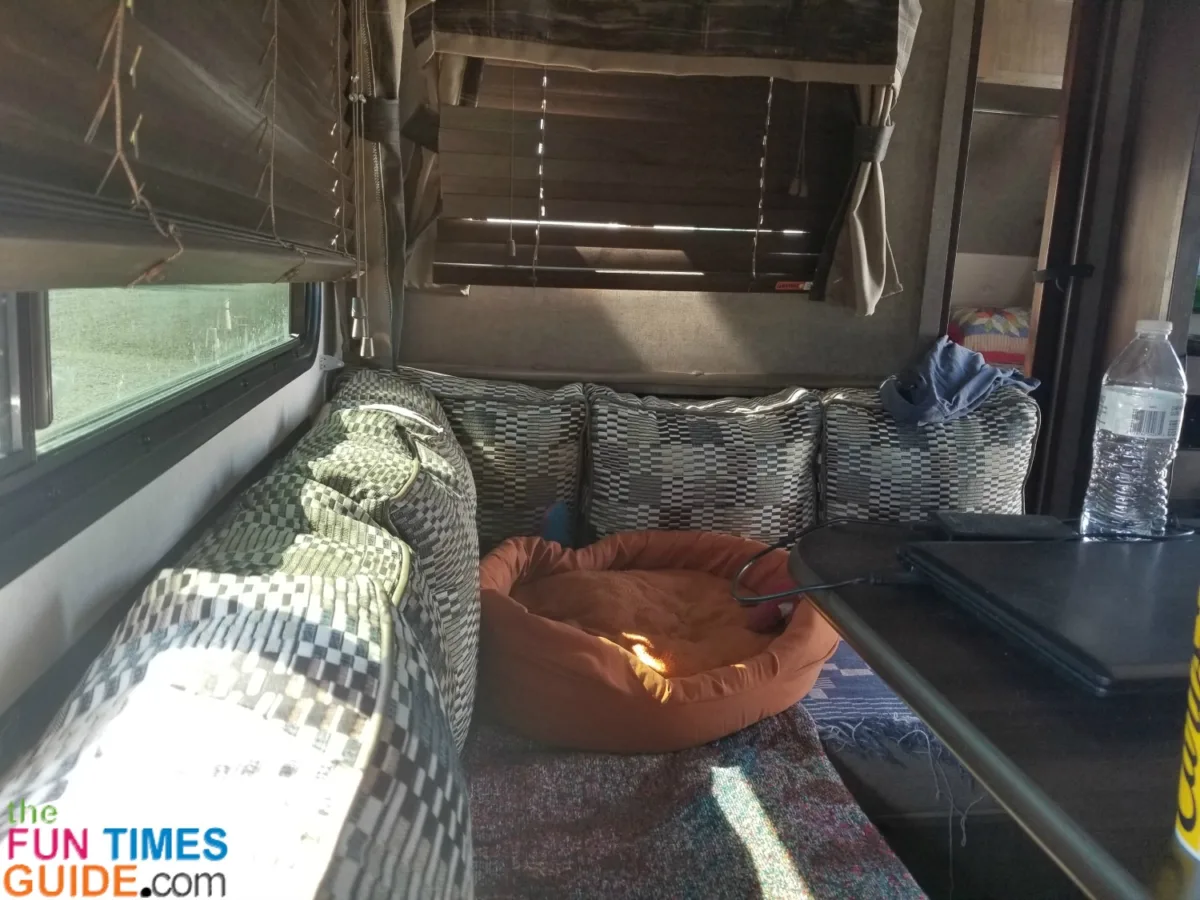
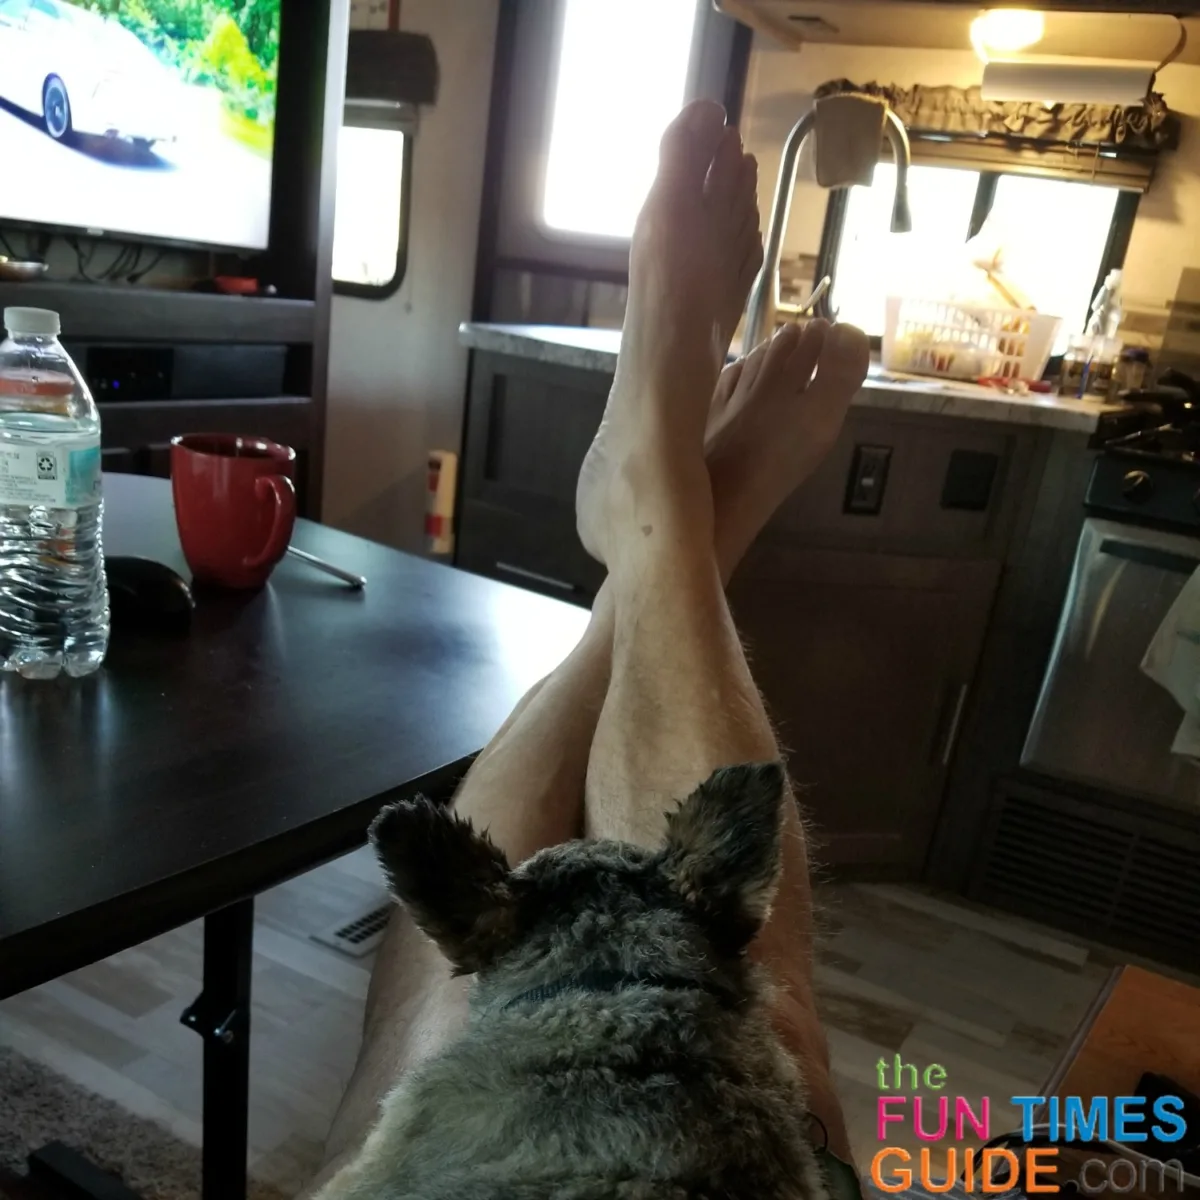
Step-By-Step DIY RV Dinette Replacement
#1 – Disassemble the RV dinette.
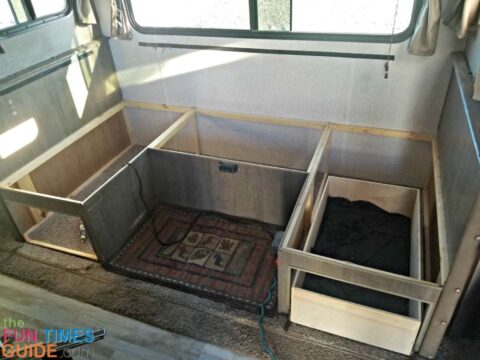
As I had expected, disassembly of the dinette went quite rapidly.
It was all held together with screws — and (of course) no glue.
Lightweight materials and assembly-line techniques mean very little structural strength and easy removal!
Before you attempt such a project, you’ll want to do a thorough investigation first — to make sure there is nothing hidden under or within your dinette that will cause an issue for you. Many times, things like water tanks, plumbing, and wiring are hidden under the seats of dinettes.
In my case, there were 2 pullout drawers for storage built into my RV dinette. I decided that losing the space was a sacrifice I could live with.
#2 – Determine if any painting or patching will be necessary.
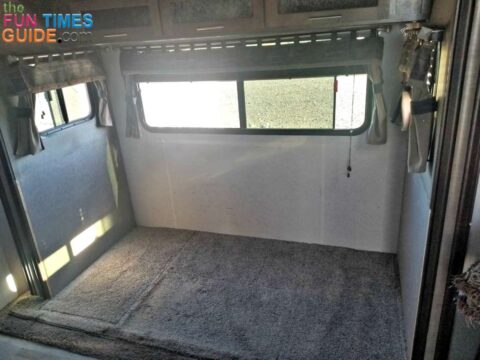
I also checked that there would be minimal damage to the walls of the slideout — leaving very little to repair after the dinette was gone.
Initially, I had plans to install wainscot panels to accent the slideout and hide the few screw holes and slightly discolored areas where the original wall board lost a little bit of its pattern in the process.
Since there were no wainscot panels in stock at the big box store, I opted to just leave things as they were. I will replace the 2 minor missing pieces of trim at my earliest convenience.
#3 – Buy the replacement RV furniture.
Later that same day, I made a trip to the nearest furniture store and bought a a modestly priced recliner.
TIP: When shopping for an RV recliner, you need to make sure it will fit through the narrow door of your RV. So be sure to pick one with a removable back. This way, the RV project will still be a one-person task.
In my case, I still needed a place to eat and a workspace for using my computer.
The original dining table is a freestanding model — so I just slid it over to one side of the slideout and purchased a simple folding chair. If I have a friend over for dinner, I can still move the table out further into the room and bring out a second folding chair.
You might consider a sofa or loveseat more appropriate for your needs. The key is to make life more comfortable and make your home on wheels meet your specific needs!
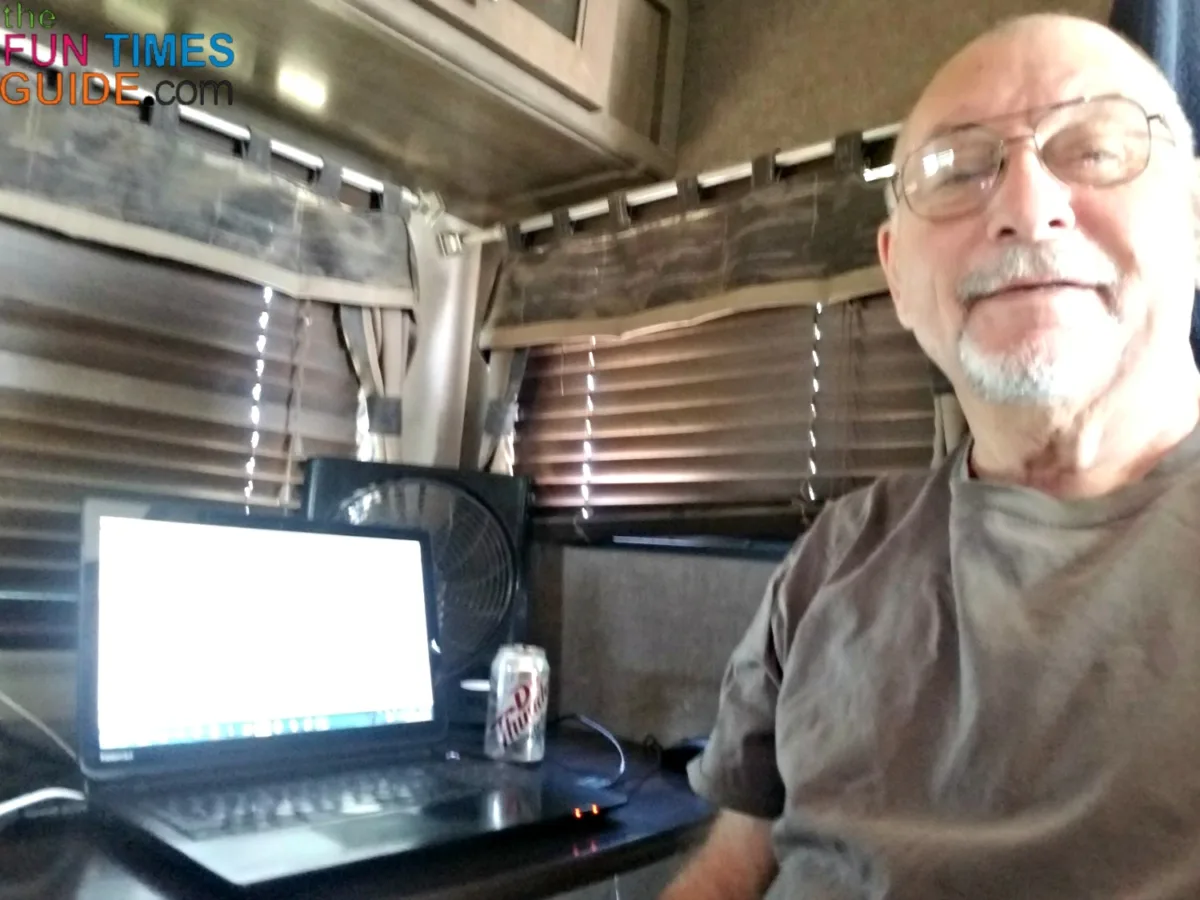
The Bottom Line
For me, removing the RV dinette was a simple process, requiring only a Philips screwdriver bit in my reversible drill.
Within a couple hours (including time spent buying the recliner), I had transformed my RV travel trailer into the perfect space that I was looking for from day one!
The only real cost is acquiring the replacement RV furniture for your new living room space.
I hope you found this information helpful!
If you’ve found a way to make more living space within your RV, let us know in the comments below.
Like this post? Save it to read again later… or share with others on Pinterest!
