If you have an older RV like I do, then you’ll likely agree with this: years ago, RV manufacturers had some strange ideas about color when it came to carpeting in RVs!

Combine old-fashioned carpet styles with the effects of long term exposure to sun, and you’ve probably got RV carpeting that’s less than desirable right now.
After careful consideration of other flooring material options, I decided to stay with carpeting because it:
- is relatively quick to install
- is cheaper overall
- should give equal service to the 20-year-old carpeting that’s being removed
Here’s how to remove the old carpet and install new carpet inside a motorhome yourself…
Step 1: Choose The Best RV Carpet
The first part of the project was to shop for new carpet.
RVs are usually a smaller space, so you may be able to find a carpet remnant of adequate size to meet your needs.
That was the case with my RV carpet project. I found a 6’x12’ scrap of chocolate brown, low pile, carpet at the local home center for $45.
This was my thought process:
- I was looking for a color that won’t show dirt so readily.
- Since the living room area is the high traffic area of the motor home, low pile means less dirt retention making vacuuming and cleaning easier.
- The low price means that if in the future it starts to becomes tacky looking, my investment will surely have been worthwhile.
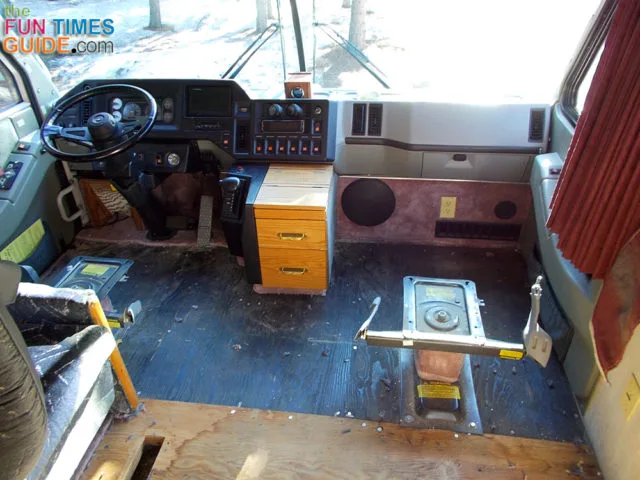
Step 2: Remove RV Furniture
Though it took a bit of effort, by removing the front seats and the lower panel on the sofa, I was able to install the new carpeting every bit as nicely as it was originally done when the coach was built.
Some tips for removing your RV furniture:
- Pedestal seats are mounted to their swivel base by 4 bolts. You have to disconnect the release for the swivel portion of the base, but it’s a simple matter of loosening the retaining nut for the cable.
- The lower panel on the sofa, I’ll call it the kick panel, is only held in place by 2 cap screws.
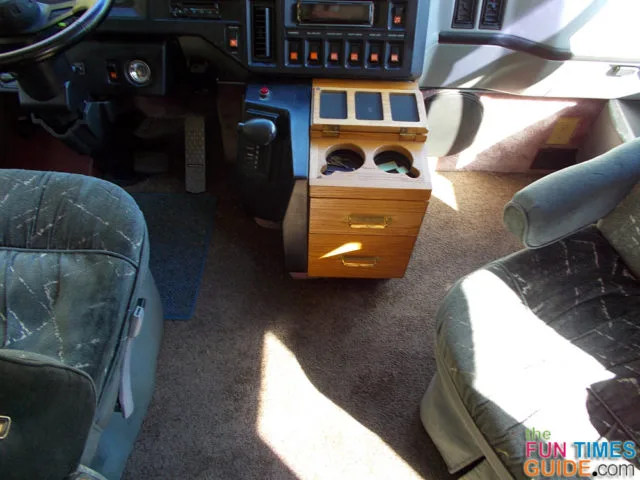
- The final item — the center console between the driver and passenger seats — is held in place by 4 screws into the floor.
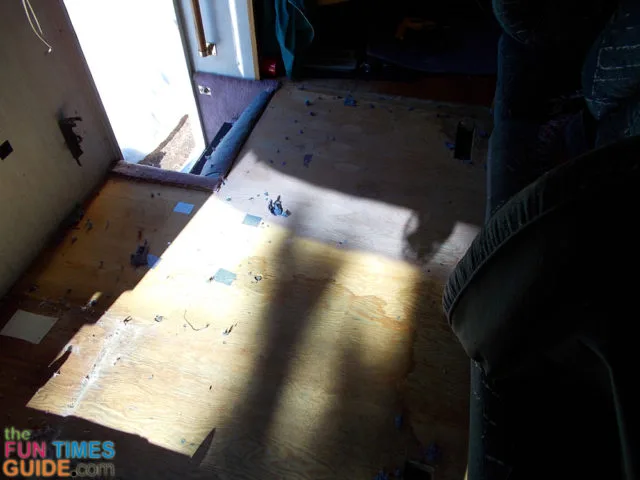
Step 3: Remove The Old RV Carpet
To make disposal of the old carpet easier, I cut the old RV carpeting into about 18” squares as I removed it from the motorhome.
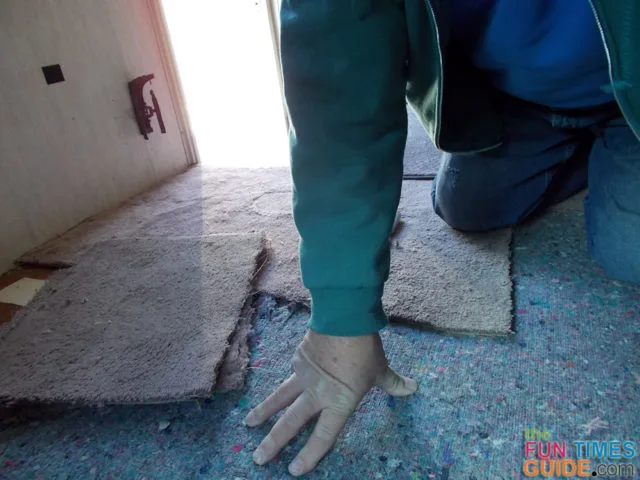
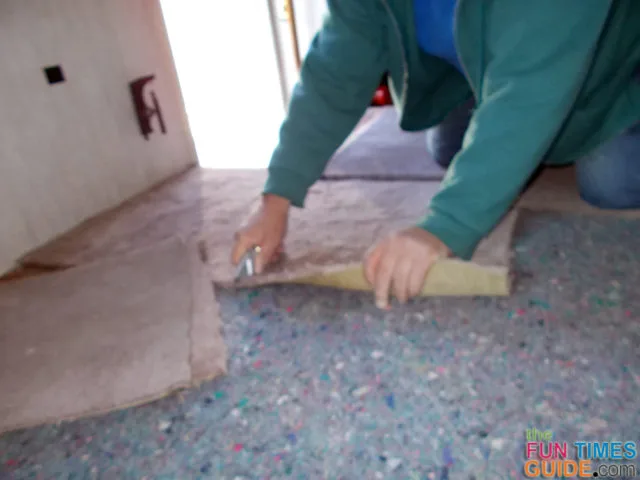
Once the old RV carpeting and paper thin padding material was removed, it took awhile to clean up the staples that were used in the original carpet installation. A number of hours were spent on my hands and knees using a pair of pliers to pull out these annoying remains.
I highly recommend a good pair of knee pads for this process. I was very thankful I had a pair in my tool box.
Step 4: Install The New RV Carpet
As I was removing the old RV carpet, I realized the factory had taken numerous shortcuts when installing the original carpeting.
For example, there were slits cut from the edge into the pedestal mounts allowing easier installation around already mounted seat pedestals. Where things were tight to work around, they pieced in smaller chunks of carpet. Seams just disappeared into the carpet pile — faults that the average eye would never detect.
Since it worked for them, I did the same.
- I took the old section of carpet from around the steering and pedals and laid out the holes on a new piece of carpet.
- I pre-cut slits into the passenger pedestal, and removed the piece that would have gone under the sofa.
- Everything was rough cut leaving the final trim for after the carpet was in place.
I won’t tell you it was a piece of cake. It took a fair amount of aggravation to muscle the carpet into place.
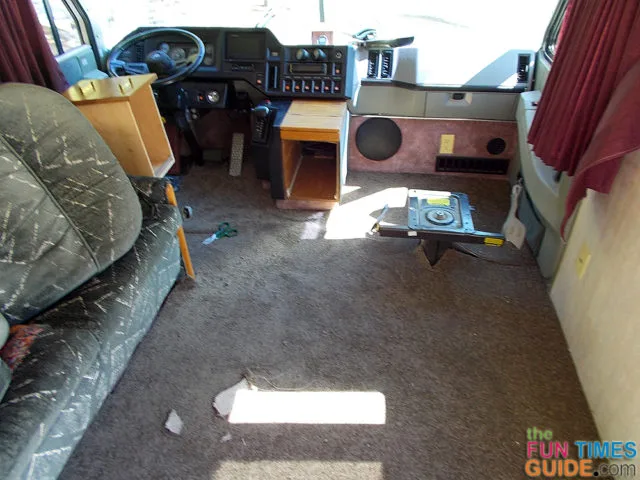
Starting in the passenger seat corner, I shot in a couple staples with my air stapler. I worked down the passenger wall, stapling the new carpet as I muscled it into place. As long as I kept the carpet flush against the front wall by the passenger seat and flush against the passenger side wall, I knew it was square.
From there it was a matter of pushing and pulling to work out any waves or ripples until the carpet laid flat. I trimmed around the seat pedestals and the end of the sofa and did some minor adjustment to the pre-cut holes to accommodate the steering column and pedals. Once I was happy that everything was laying flat, I stapled around the perimeter.
I did have to piece in a section on the wall side of the driver’s seat. After all, the remnant was 6’ wide and the coach is about 7’ plus wide. That single seam quickly disappeared once stapled, and it’s hidden under a floor mat in front of the brake and throttle pedals anyway. The only one who knows it’s there is me… and now you.


After the swivel seats and the sofa kickboard were re-installed, the results pretty much speak for themselves. The living room is well on its way to looking like a new RV rather than the 20 year old one listed on the registration.