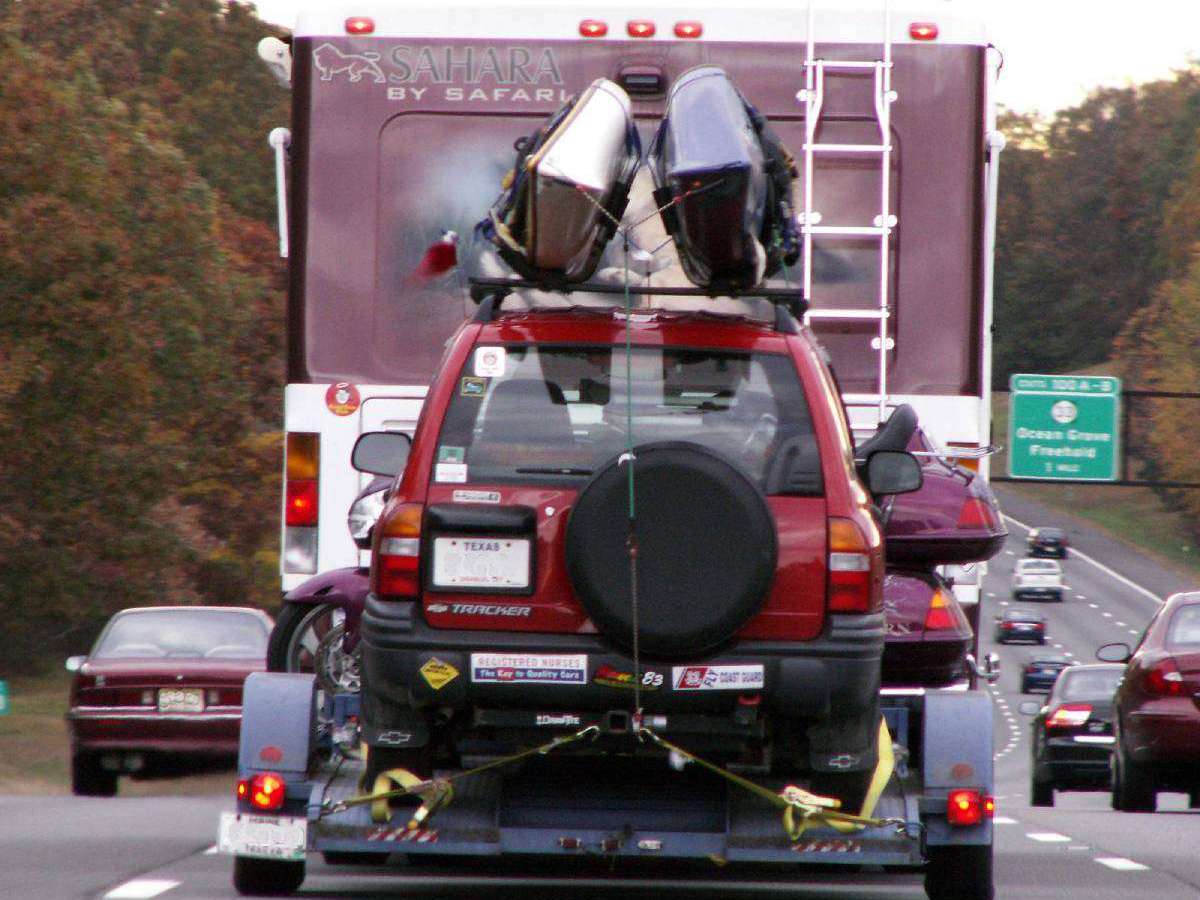
Early one morning I was sitting at the kitchen table reading my email and having a leisurely cup of coffee, when suddenly I heard a hissing noise coming from the back of the RV. Jim was still in bed, so I got up and went over to where the air conditioner unit was, because I thought the noise was coming from there. But that wasn’t it.
It turned out to be the toilet! It had sprung a leak, and water was spewing out like a fountain from a tiny plastic pipe at the back of it.
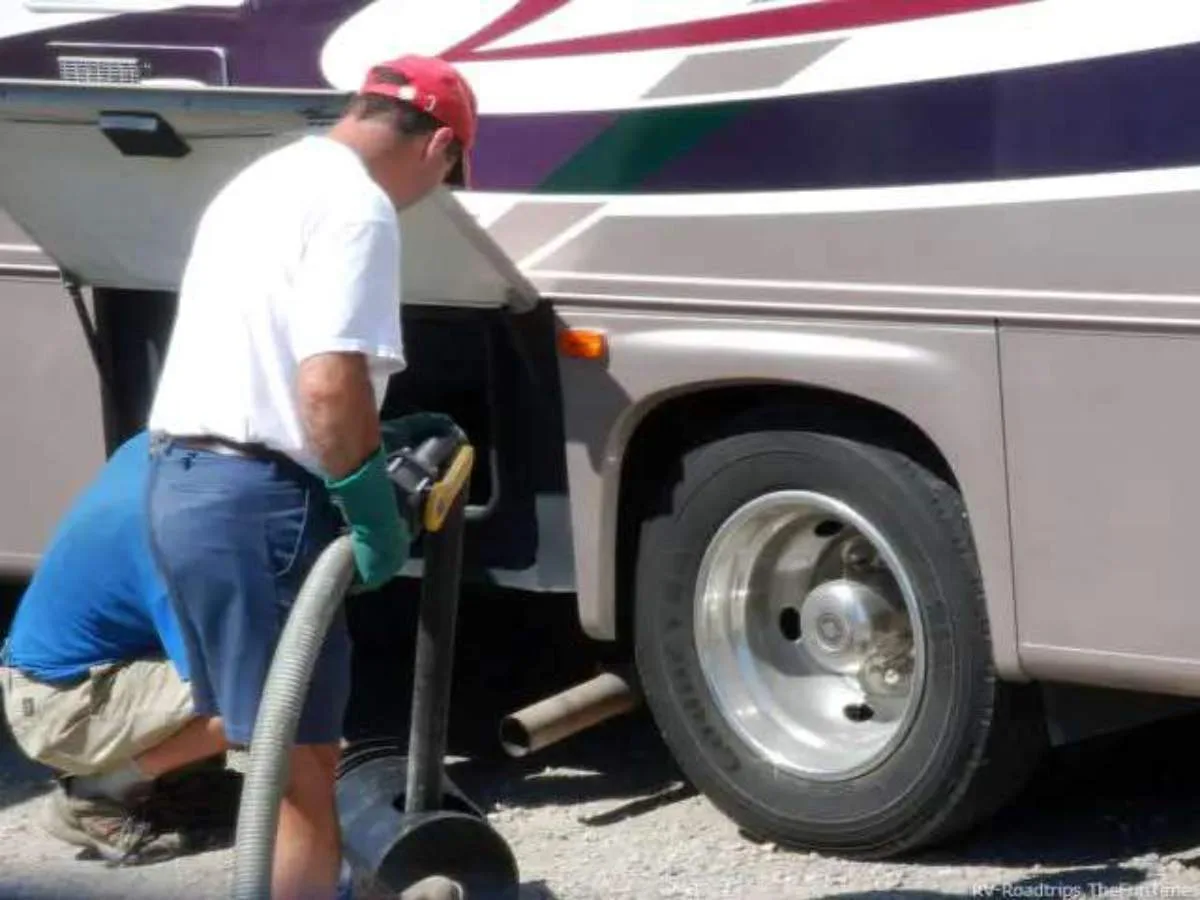
I yelled at Jim to get up quick, and he ran outside and turned of the water at the source. As I mopped up the mess, Jim was calling the tech at the nearest camper store. The guy came out and discovered that the clamp that holds the pipe onto the toilet fixture had broken. It was in a place where it could not be repaired, so it meant getting a new toilet.
You wouldn’t think that getting a new toilet for the RV would be such a hard thing to do.
But when we started looking at the different ones, there seemed to be just so many to choose from.
Did we want a “high profile” one?
A foot pedal flush or a hand flush?
White or black?
No matter which one you choose, there are a few things to remember when replacing the toilet in your RV.
First Things First
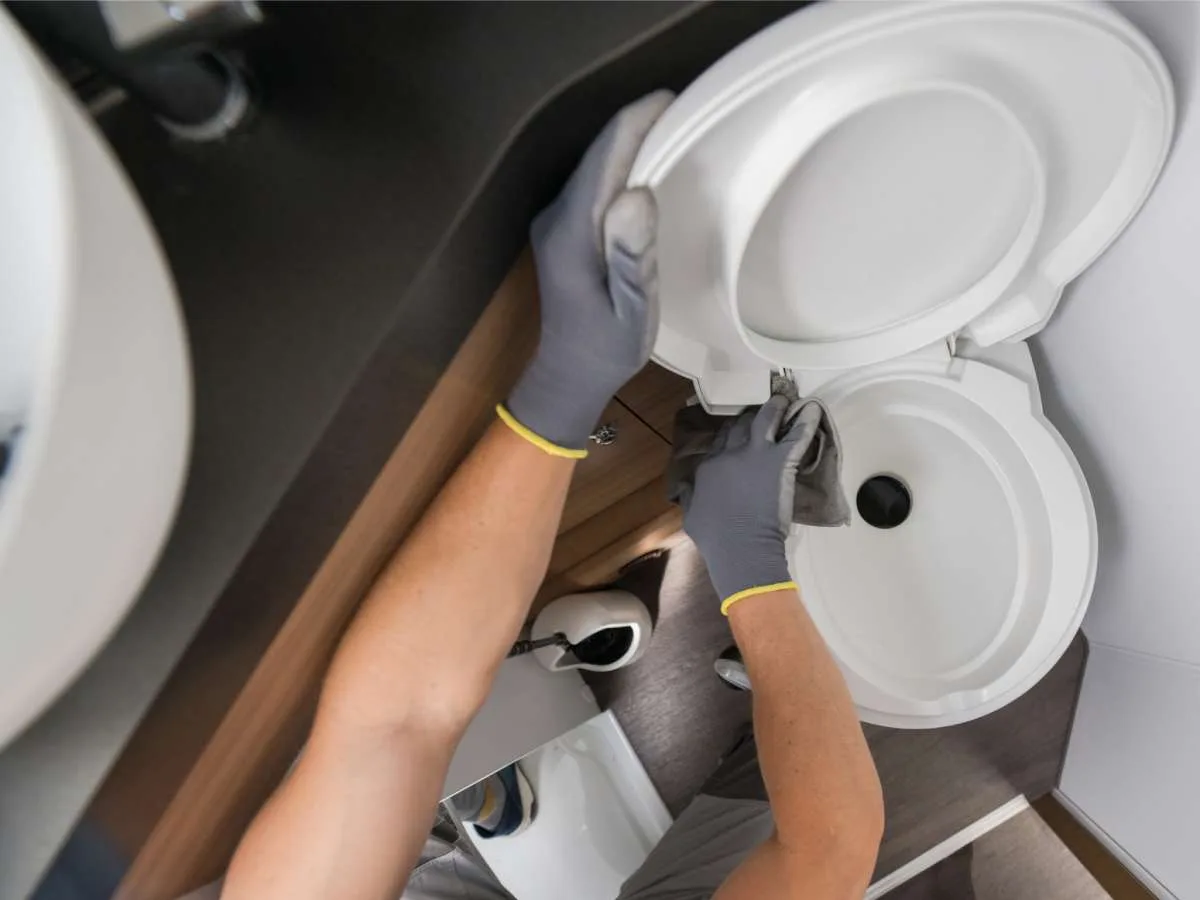
The first thing you need to do is measure the area where the old toilet was to make sure the new one will fit. The placement of the sewer pipe in your bathroom area may dictate the type of toilet you can put there.
Be sure to clean the area of debris after you take the old one out, so that the new toilet will sit flat on the floor and make a good seal.
Oh, and don’t forget to turn the water off before you start.
Here are some good directions for installing an RV toilet.
(They’re for a specific brand of RV toilet, but based on our experience, it looks like the instructions would be the same no matter which one you get.)
If you are game, and willing to give it a try, you can save more than $150 by installing it yourself. It only takes about an hour or so to complete the job. If not, any RV repairman will be able to get the job done. Then you can relax, and get back to your coffee and email.