The worst sound you can hear when traveling is the click, click, click of the starter not turning over.
That sound indicates that your RV battery is dead, and you’re not going anywhere.
The time to think about this is before you leave town — not when you’re stranded along the side of the road.
Fortunately, a little preventative maintenance can help you avoid breakdowns when you least expect them.
Here’s what you need to do…
One Tool Every RVer Should Own
So often I hear people complaining that they purchased a new battery, yet they got stranded a couple days later.
Worse yet, some RVers hastily replace the alternator, not realizing that the problem lies within an aging battery that can no longer accept a decent charge.
With a one-time investment of less than $20, you can carry the most helpful diagnostic tool that every RV owner should have: a multimeter.
A multimeter can quickly tell you the exact status of your electrical system — without any disassembly or extensive mechanical abilities required on your part.
Rest assured, a multimeter is no one trick pony! It will be equally helpful in checking 110-volt household circuits. It can also tell you why the new taillight bulb you installed didn’t work.
For this article I will only be covering how to diagnose and fix your RV’s 12-volt charging system.
Must read: What’s The Difference Between A Voltmeter And A Multimeter?
Using A Multimeter To Check Your RV Battery & Alternator
I like a digital multimeter because it tells you exactly what your voltage is — leaving no room for error from misreading a dial.
Here’s how to use a multimeter to check the RV battery and alternator:
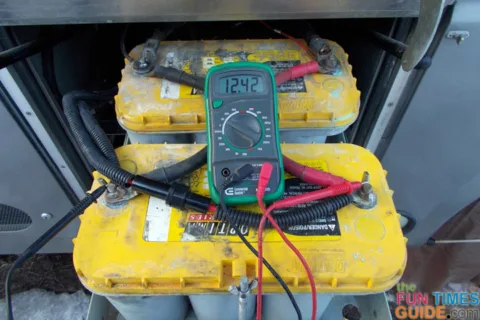
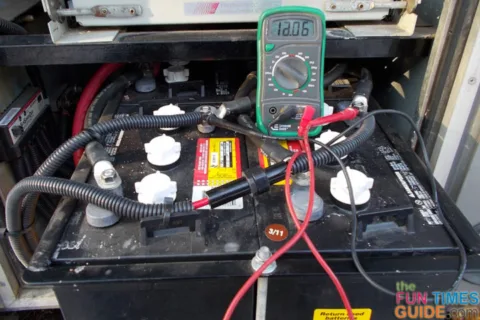
- Hook the red lead to the positive battery terminal and the black lead to the negative battery terminal. Turn the meter on, and set it to the scale that reads + 12 volts DC.
- With the engine off and nothing turned on (keys out of the ignition), you should get a reading of + or – 12.xx volts. If the battery is fully charged, it will be a little over 12 volts. And if it’s run down, you might see 11 volts or less.
- Start the engine, and with the engine running read the meter again. The meter should now read 13.8 to 14.5 volts. The point is now you should see an increase in voltage — indicating the alternator is doing its job and it is indeed charging the battery. If the voltage didn’t go up, then the alternator has failed. It’s as simple as that.
Possible Outcomes After Using The Multimeter
If your battery voltage was low without the engine running, then charge the battery either by running the engine or using a battery charger. Once charged, if the battery voltage drops dramatically overnight, your battery has reached the point it will no longer hold a proper charge and it should be replaced.
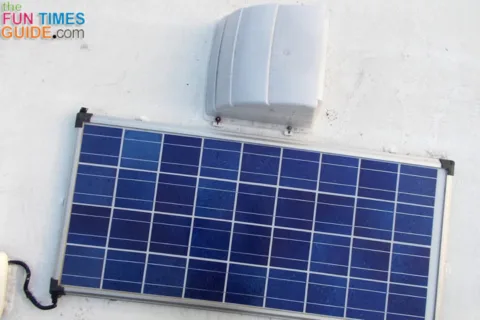
Some motorhomes have a solar panel on the roof designed to maintain the battery’s charge during periods of non-use. Most provide what’s called a trickle charge — just enough to keep a healthy battery at its peak.
To verify that the trickle charger is operating properly, all you need to do is:
- With the motor not running, cover the panel with something like a piece of plywood to prevent the sun from shining on it.
- Check your battery voltage. It should read about 12.30 volts.
- Now, expose the solar panel to the sun. Your voltage should go up. It will only go up slightly, because this is just a trickle charge. Mine only jumped up to 12.41 volts — enough to ensure that nothing was draining the battery and that a slight charge was being applied.
Routine Maintenance Tips For Your RV Batteries
Preventative maintenance on RV batteries is the best way to ensure that they last and are fully charged and ready when you need them.
The most common failure is as simple as dirty cable connections at the battery. They may look clean from the outside, but a gray film can build up inside the cable clamps or between the terminal connections. At least once a year, all connections should be removed, cleaned, and re-installed. The battery terminals should be cleaned to bright shiny metal in order to ensure good contact.
Sandpaper is the best (and cheapest) tool for cleaning battery terminals. If there is a buildup of green acid corrosion, it can be neutralized with a paste of baking soda and water. Rinse thoroughly after the bubbling stops.
Many of today’s RV batteries are maintenance free — meaning you don’t have the option of adding water as needed.
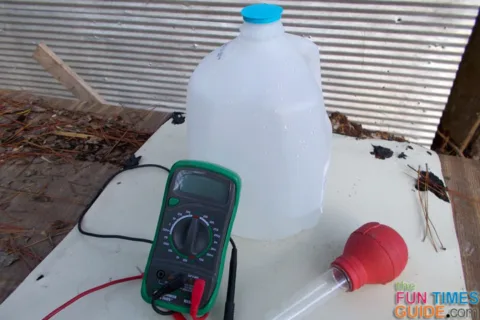
However, if your RV battery has removable caps, then you need to monitor the water level. If the plates become exposed, the life of the battery will be dramatically shortened. If you do need to add water to your bank of batteries, only use distilled water. Tap water may have minerals that could clog and shorten a battery’s life.
One final tip: if one battery fails that is part of a group — such as 4 batteries that make up the house battery group for your RV — you should replace all 4 batteries at the same time. By installing only one new battery next to the 3 remaining so-so batteries, the new one will be overcharged and it too will fail prematurely.
This video provides some good information about troubleshooting the complete electrical system in RVs:

