Leaking waste valves can be just about the nastiest issue you might be faced with as an RV owner.
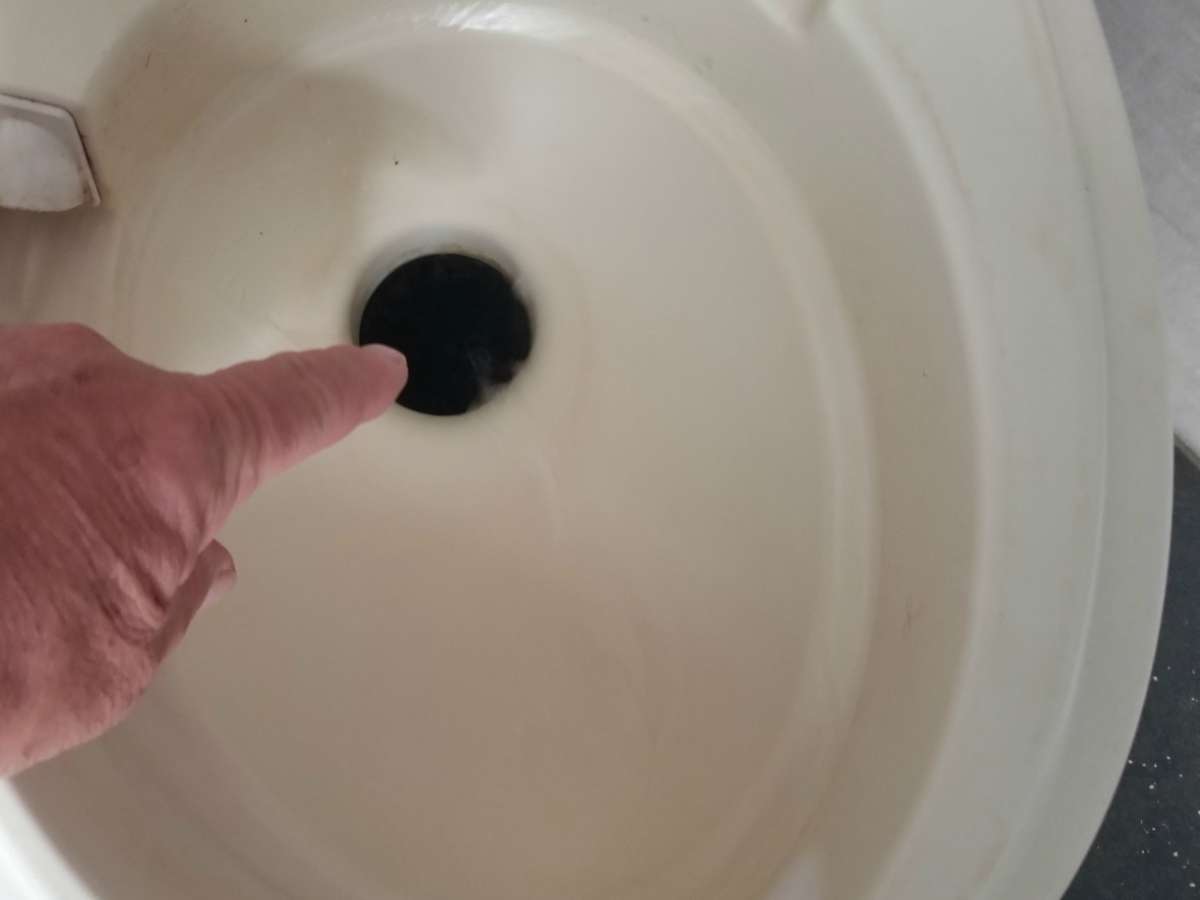
The first sign there is a problem will be when you remove the black cap in preparation to drain your waste tanks. If you’re greeted with about a half gallon of waste water as soon as you loosen the sewer cap, then one of your dump valves has lost its ability to contain the water in the tank.
The next step is to determine which of the dump valves is leaking.
How To Determine Which Valve Is Leaking
The standard configuration for waste tanks will have 2 wastewater valves equipped with “T” handles for opening and closing. One will be large, about 3 inches and the other will be smaller at about 1-1/2 inches.
An occasional RV will be found that has a 3rd dump valve, and even 2 separate dump hookups. It’s hardly an owner-friendly arrangement, but I have seen it.
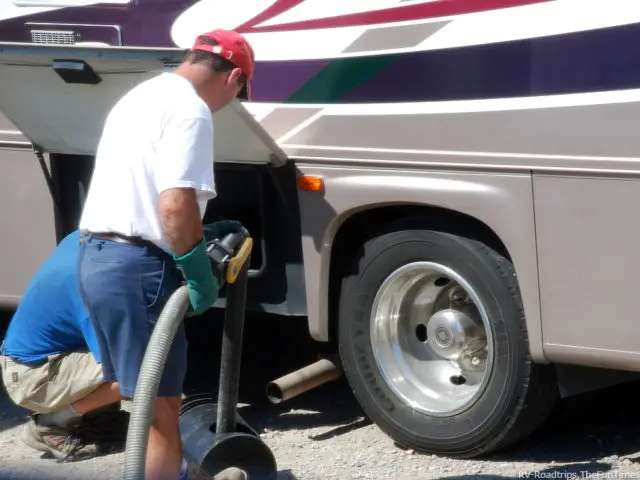
To determine which valve is leaking, you should have your RV waste tanks empty. With the wastewater valves closed, and the black cap off, place a 5-gallon bucket under the sewer drain port.
Run about 5 gallons of water into the gray water tank through the kitchen faucet. That will be the smaller wastewater valve. Let it sit for awhile and watch to see if any of the water drains out into your bucket. If you feel that 5 gallons isn’t a good enough test, run a bit more. If you determine that particular valve isn’t leaking, you can drain the tank into your bucket and dispose of it.
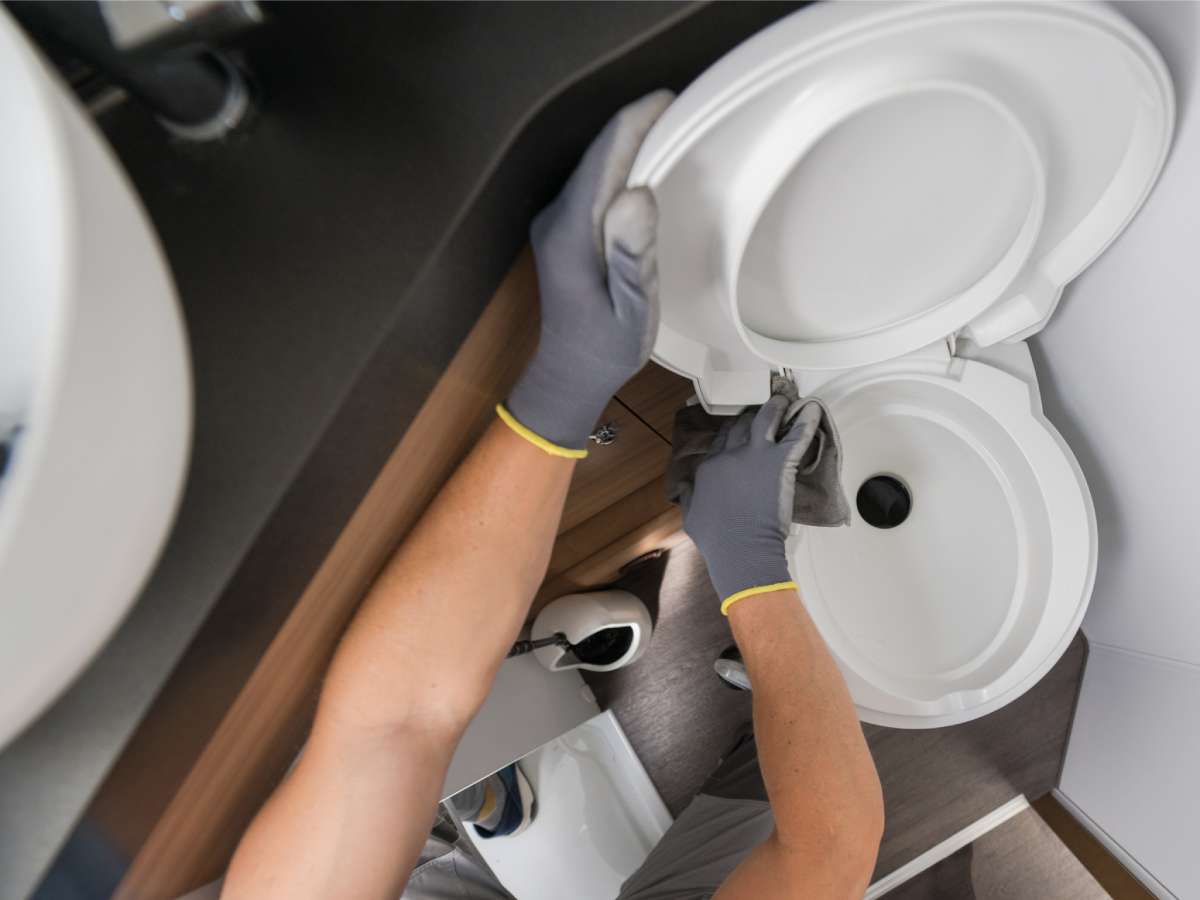
Next, repeat the same procedure with the black water tank by pouring 5 gallons into the RV toilet. Again, let it sit for awhile.
TIP: Sometimes toilet paper hangs on the seal or blade of the black water dump valve causing a temporary leaking situation. This happened to me just this past weekend when we went camping. All that’s needed to clear this problem up is to flush the tank, and work the wastewater valve open and closed a few times to clean the valve seat.
How To Replace The Leaking Valve

Once you’ve determined which RV dump valve is indeed leaking, you can prepare to disassemble the valve by draining both waste tanks completely.
The waste water valves are designed to be somewhat easily disassembled and replaced.
You will find 4 smaller bolts that run through the outer flanges and the actual valve portion of the dump valve. Remove the 4 bolts, and separate the sections so that the “T” handle and attached valve drop out of the center.
Replacement waste water valves are available on the Internet and at RV dealerships. They’re the same on practically all RVs — so matching up is simply a matter of, “Is it the small valve, or the large valve?”
Reassembly is easy. Here’s how to do it. The most important thing is to make sure that the new seals between the sections are in the correct position.
Once you’ve got it all back together, rerun the water test to make sure you have solved the problem.
A Word Of Caution…
You may be tempted to let a leaking waste water valve problem go on for awhile, because this type of DIY repair just sounds so unpleasant.
But this will only compound your problems — especially if the issue is with the black water dump valve.
With a leaking RV wastewater valve, even if it’s running down the sewer hose and into the dump station at your campsite, you are losing the liquid that is being sent from the toilet. At the same time, the solids are staying put and building up in the tank as the water will quickly run off. In a very short period of time, the black water tank will become loaded with solid material that will set up like solid clay. Then, you’ll really have a mess to deal with!
If you take care of the leaky valve situation when it develops, then the project really isn’t that bad to deal with. Just be sure, when you’re all done go wash up real good before you do anything else.