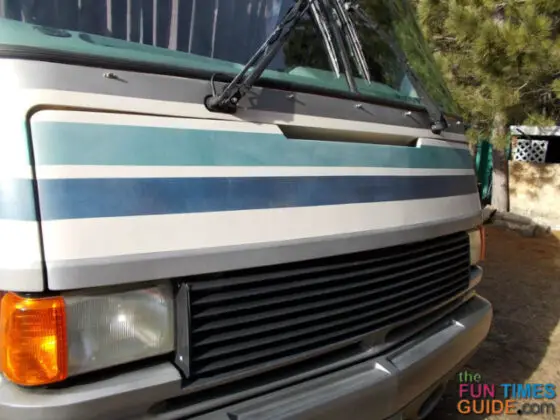
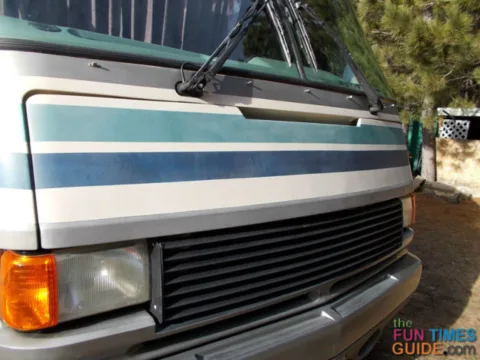
Buying a secondhand motorhome (mine is a 1993 Pace Arrow diesel pusher) often means you don’t really know what you’ve got until you get it home and start looking under the hood — so to speak.
In my case, it was looking under the large panel on top of the dash that told me a story about the used RV I recently purchased.
At some point, the following accessories had been installed:
- a DVD player with surround sound
- a rear view camera
- an upgraded AM/FM/DC player
Sadly, the radio doesn’t work, the two 12-volt dc power outlets are dead, and the speaker system for the surround sound all take away from the aesthetics of the living space inside my RV.
Must read: What You Need To Know About Your RV Electrical System
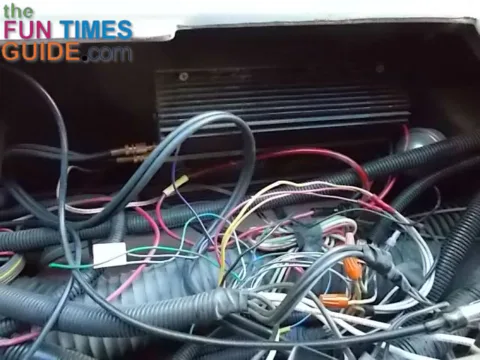
My RV Wiring Before…
Once I removed the RV dash panel, I could see that things were not the way they should have been after the add-ons had been cobbled into the crowded space under the dash.
Wires had been cut, extra circuits had been added by slipping a connecter under an existing fuse on the fuse panel, and wires were wildly criss-crossing with no rhyme or reason.
Much of the stuff I just wanted gone. And I wanted the wires to be properly protected in a neat and organized manner.
Most of all, any overloading of original RV wiring needed to be removed. Otherwise, the whole thing could go up in smoke.
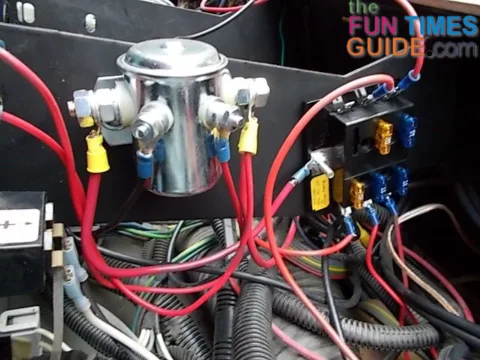
My RV Wiring After…
I’m not a big fan of movies on discs. It would be my item of last resort for entertainment.
So the surround sound system with amplifier booster crammed under the dash and the speakers mounted all over the place will be replaced with an inexpensive, small DVD player — which requires less room, and way less components and wiring.
The addition of a $10 6-circuit fuse panel will provide a centrally located, neat connection point for this and any other devices I may want to install in the future.
Because I have no idea where the source of the 12-volt dc power points originate from, I will add them to the fuse panel as well.
My goal is to have all add-on equipment powered from this one location — so when troubles arise, I know exactly where to go.
This separate fuse panel will be powered through a continuous duty solenoid that will be getting its power from a battery connection near the diesel generator mounted at the front of the coach.
The switching power for this solenoid will come from any fuse or wire that is only live when the key is in the ON position. This switching connection requires a very low amperage, so it can be from most any keyed source.
So that I can also energize this panel without the engine running, there will be a separate switch that can energize the second panel without the engine running. (TIP: Beware that you don’t deplete your batteries during extended operation.)
The end result:
- The original coach wiring will be original, as it was intended to be.
- Add-on devices will have their own source of power that makes finding problems a snap.
- Both the coach and the extras will be properly protected in the event of a short in the wiring or some other mechanical problem.
Nothing is more aggravating than having your electronic entertainment stop in mid movie, leaving no clue as to what the problem is or where the problem stems from.
I’ve been involved in RVing for over 50 years — including camping, building, repairing, and even selling RVs and motorhomes. I’ve owned, used, and repaired almost every class and style of RV ever made. I do all of my own repair work. My other interests include cooking, living with an aging dog, and dealing with diabetic issues. If you can combine a grease monkey with a computer geek, throw in a touch of information nut and organization freak, combined with a little bit of storyteller… you’ve got a good idea of who I am. To date, I’ve shared my RV knowledge in over 300 articles here at The Fun Times Guide! Many of them have over 25K shares.
