Easy RV Slide-Out Maintenance Tips & Tricks

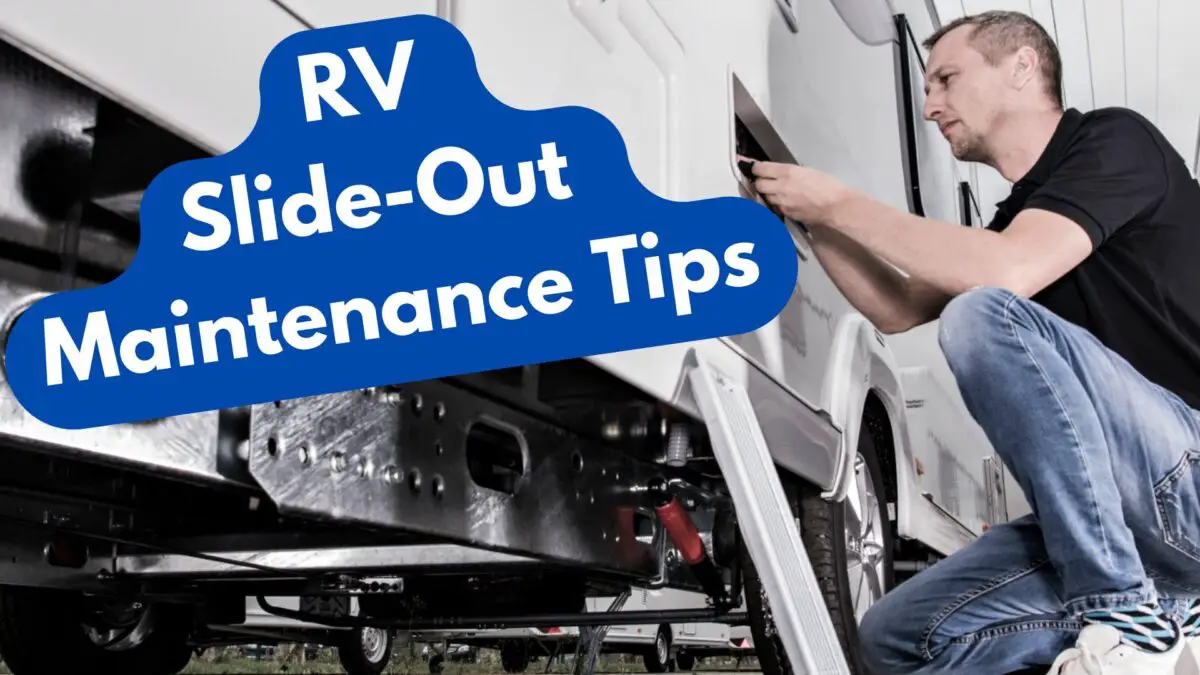
Having RV slide out issues? Here are the things you should check first when troubleshooting faulty RV slides.

See what to look for when something goes wrong. Plus RV slide out maintenance tips to prevent issues with your slides later on down the road.

Things you can do to prevent costly RV slide out repair issues!

============================

TRANSCRIPT:

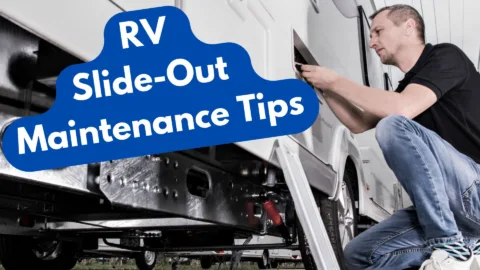
Hi I’m Curtis with The Fun Times Guide. And today we’re going to talk a little bit about slide-out mechanisms.

In a perfect world when all is well, a simple push of the button and the slide-out will start moving IN or OUT — depending on which side of the button you push. So what happens when you push the button and nothing happens?

The first thing to do is check the fuses. Slide-out motors are 12 volts — so they have fuses instead of circuit breakers. You go to your fuse panel and identify which fuse pertains to the slide out. And verify that it is good.

If you have run your slide-out up against the stops and held the button for as short a time as an extra second, it is very likely that you blew the fuse — and replacing the fuse is all that is needed.

If indeed your slide-out is not functional and you are camping or at some location where it is not convenient to try and repair it, there is usually a way to manually retract the slide-out. On my trailer, I have a removable hand crank that attaches to a fitting that protrudes out the side of the frame and by turning it left or right it will either retract or extend the slide-out as needed.

The interesting fact is the manuals don’t usually tell you anything about this. And it took me a number of months to discover where this was because it is located directly behind my entry steps. And every time I went to look for it with the steps folded up, I could not see it. So with some searching, you can find where the manual screw attachment is for retracting your slide.

Access to my slide motor is not an easy task. As you can see, the bottom of my trailer is closed in. And the slide motor is located up inside the frame. To remove the underbelly — let’s say the driver’s side of the trailer — the underbelly covering is riveted to the frame and is not removable. But there are screws on the passenger side that you can remove and you can lower that side down to the ground — providing some access to the slide motor area. This is not an easy task and it is one that’ll take a fair amount of time to accomplish.

My slideouts have a gear-driven system where you have a track (a gear track) and the motor runs up and down this track — bringing the slide-out IN and OUT. If the slide-out is not securing properly to the side of the trailer and sealing up good, there are some minor adjustments available to you that will align things so that the slide-out will secure properly.

On this particular type of slide-out it is not recommended to use any lubrication. Because lubrication will attract dirt and grime and will increase the possibility of damage or excessive wear. So I have never lubricated this type of slide-out.

This is just one of probably a half a dozen different types of slide-out mechanisms. Some will allow you to do some maintenance work on your own. While others are complex enough that it is not advised for owners to do much of anything other than confirm that you have electric power to the motor.

What To Do If Your RV Or Trailer Gets Stuck In Mud, Sand, Grass, Ruts

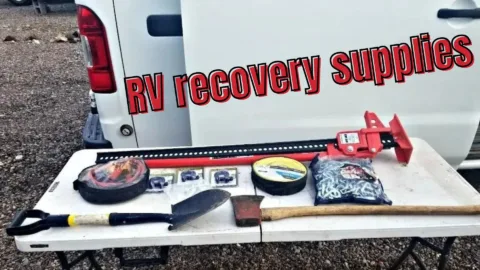
How To Get Your RV Unstuck – The secret is to always be prepared whenever you’re traveling in your RV! See the RV rescue equipment that I keep on board with me at all times. A quick look at the RV equipment you need for self-rescue.

See my complete list of the equipment you need to get an RV unstuck!

============================

TRANSCRIPT:

Hi, I’m Curtis with The Fun Times Guide. In today’s video, we will talk a little bit about self-rescue.

With the current trend being smaller RVs and converted vans, it is more likely that you are going to get off the beaten track and get out into the wilderness. And the first time you make the mistake of getting off of firm ground, you’re going to find yourself stranded!

These are some ideas that will help you rescue yourself…

I personally carry a wide variety of ways to rescue myself. The first important rule is I don’t travel off the beaten path ALONE. There is always a second vehicle. And what I don’t have in my collection, my traveling buddy carries in his.

I have a SHOVEL, TOW STRAPS a couple of different ways to make use of the tow straps, and a 25-foot CHAIN.

I also carry a good set of JUMPER CABLES — because you never know when you may have to jump your vehicle battery off of your house batteries.

The most important tool to carry for self-rescue is a HIGH LIFT JACK. I recommend this because it does not put stress on your suspension parts. And as in my case here… my vehicle has a good sturdy set of tow hooks on the front which give a good location to lift from. On the back of my van I have a receiver hitch which is rated at 5,000 lbs. So I can put my ball adapter in the receiver hitch and use the Hi Lift Jack to actually lift the whole back half of the vehicle off the ground if need be.

The absolute best arrangement for an offroad trip is to have a WINCH mounted on your vehicle at one end or the other. You can get portable winches — which can drop over the ball of your receiver and pull you backwards. But it’s more expensive to have a winch mounted on the front of the vehicle.

By all means the preferred choice is to have a FOUR-WHEEL DRIVE vehicle and I always approach that with the attitude of: “Drive In on two-wheel drive until you get stuck. And then use four-wheel drive to get yourself back out.”

The one item I am missing on my list is a CABLE COME-ALONG, which is very useful when you don’t have a winch. My traveling buddy has a come-along in his vehicle. And he also has a set of mat tracks — which are a treaded track that you can put underneath your tires for increased friction and have a better chance of getting out when stuck.

And as a final item, I have more aggressive all-terrain TIRES all the way around my van. Even though it is a two-wheel drive van, I feel that the added traction on the front tires will aid in steering as well as flotation because they are a larger tire than what the stock tire was.

I hope these hints have given you some ideas of how you can set yourself up so that you can rescue yourself when you get into a pinch. But the best advice is don’t go where you are not 100% certain that the ground is solid enough to transport you.

Getting… calling a tow truck when you are out in the woods somewhere is going to be a very expensive adventure that you really don’t want to get into!

10 Things To Do IMMEDIATELY After Buying A Secondhand RV

Here’s a CHECKLIST of all items you need to INSPECT before buying a used RV!

I’ve worked for a number of RV dealers and I can tell you some HORROR STORIES about secondhand RVs that were re-sold to unsuspecting buyers.

10 Things You Need To Do Immediately After Buying A Used RV — to make sure that the used RV you bought is safe, disinfected, and ready for you to travel in!

============================

TRANSCRIPT:

Hi I’m Curtis with The Fun Times Guide. And this morning I’m going to talk to you a little bit about things you need to do immediately upon taking ownership of a secondhand or used RV.

One of the first things to take in mind (or to take into consideration) is that when a dealer takes in an RV as a trade-in… As far as preparing it for sale, they do absolutely nothing! They put it on the lot as they receive it basically — with a For Sale sign in the window — and take it from there.

That means that when you look at an RV on the lot, it has had no repairs done to it. It has had no servicing done to it. It is as the person who traded it in dropped it off. That can be an indication that the RV is not in ready-to-go condition.

If you are buying a towable RV, one of your primary first concerns should be the running gear underneath it. When was the last time the wheel bearings were repacked? How old are the tires? How solid is the foundation that you are pulling your trailer on?

If you have purchased a trailer whose tires are more than a couple years old, they should likely be replaced. Especially if they are foreign made and not brand name American tires. Very few tires on the market today are of quality enough to be reliable beyond maybe the first year or two.

When you pick up your used RV, understand that you may not fully comprehend how everything works. You need to know that in the purchase of a secondhand RV, the dealer will only repair what is on the sales order. If you take it home and a month later discover that the refrigerator does not cool properly, or there are other mechanical issues with the RV… you do NOT get a warranty of any sort. And it will be your problem at that point.

So immediately upon getting your RV home, it is a good practice to go through every operation. And make sure that all the mechanical items within the RV function properly. And I don’t mean “mediocre”… Make sure that the refrigerator cools down to a good level and that the freezer portion actually freezes food.

You should also sanitize the water system completely. You have no way of knowing how old any water is that is in the tank or when the last time it was sanitized. So for your own safety and reassurance, you should do a complete water system sanitation.

You should also inspect all rubber seals, rubber gaskets, and window frameworks. You’re looking for a bead of silicone around the edge of the frame — to assure that no water can get in. If there is no silicone caulking around the top half of the window it would be a good plan to put a light bead around, to seal the window. Over time, the sealant (the factory sealant) will harden, and likely leaks will occur.

It is also a good practice to get up on the roof and very closely inspect all seams for cracked sealant. Or any indication of where water might get in. Or if there is damage to any of the roof vent coverings.

Understand that I have worked for a number of RV dealers. And I have run across this at every single dealer. They will do the least they have to get the RV (especially secondhand ones) down the road and out of their hands. Do not count on them to do any before sale inspections or maintenance on them. If it is not on the sales slip, they’re not going to do anything about any problems that you find later down the road.

Another word of caution concerns the title of your new secondhand RV. If you are buying from a dealer that does not have an extremely well-established reputation for being reliable, be sure to follow up on any existing loan payoffs (if you had a trade in). Because this has happened to me… I traded in an RV to a dealer. And he did not pay off my existing loan. And 60 days down the road, I get a notice from the bank that payments have not been made. And I had to handle the situation in person with the dealer and get it sorted out immediately. Because my credit rating was in danger of taking a severe hit for lack of payment. So be sure to follow up on titles and insurance — and verify that everything is as it should be within a reasonable amount of time.

Buying a secondhand RV puts a lot of the responsibility right into your lap — because the dealer does not feel that they are liable or responsible for things that are not quite right. This isn’t the world of auto sales, where you have a much more established system that protects the consumer. The world of RVs is much more of a situation where the condition of your RV (as far as a secondhand purchase) is totally “As is, where is.” And when you roll off the lot, any problems that come up are your situation and not the dealers.

I hope this gives you some idea of what to expect the next time you buy a secondhand RV. Because if you buy it from a private person that is definitely an “as is, where is” situation. And if you buy it from a dealer, it’s only modestly better than that. The responsibility to know what you are buying and what condition it is in is totally yours!

RVers: It’s Easy For A Thief To Steal Batteries From Your RV Travel Trailer!

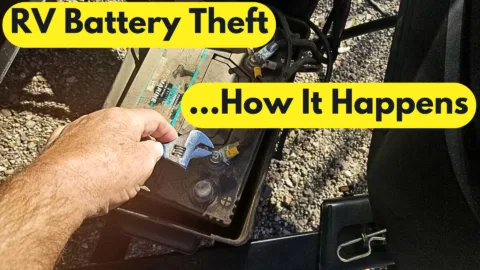
RV owners… This video is proof that 30 seconds is all it takes for a thief to steal your RV battery from your travel trailer! And deep-cycle lead acid batteries aren’t cheap — they usually cost $100 or more apiece.

Here’s what you need to know about RV battery theft protection.

This info is based on my own experience as a full-time RVer for over 40 years.

============================

TRANSCRIPT:

Hi I’m Curtis with The Fun Times Guide. And today I’m going to show you how quick and simple it is to steal a battery off of 99% of today’s travel trailer RVs.

To steal one of these batteries on the tongue of my trailer, it is a simple 30-second process. I will demonstrate.

All you have to do is remove the nylon strap. Remove the lever. And remove 2 wing nuts right here.

To make matters even handier, there is a folding carrying handle on the top of most batteries that will allow a thief to just pick it up and carry it away.

As you can see, it is a very simple issue to steal batteries off of travel trailers!

How Long Does An RV Last? (RV Components That Fail First On RVs)

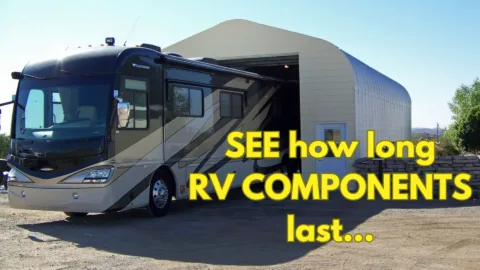
In this video, we take a closer look at the life-expectancy of an RV. See what’s most likely to fail first of these RV components:

  • RV refrigerators
  • Deep-cycle batteries
  • Propane tanks
  • RV tires
  • RV slide-outs
  • RV awnings
  • RV roofs
  • RV vent covers
  • RV solar panels
  • RV air conditioner covers

See WHERE, WHY, and WHEN each of the above RV components will likely wear out in your RV!

============================

TRANSCRIPT:

Hi! I’m Curtis with The Fun Times Guide. This video will show you a few more items and explain what type of service life you can expect out of them.

We will take a closer look at the REFRIGERATOR. The fail item in the long term for a refrigerator is the cooling units. These tubes have an ammonia solution which percolates through the refrigerator for the cooling. And over many years, the lining on the inside of the tubes breaks down. And it will eventually plug up the system so that it can’t circulate and hence it won’t cool. That usually takes… You know, you’re usually safe for at least 10 years and probably around 15 years you could look into that being a problem.

Deep cycle BATTERIES have a useful life expectancy of around 5 years. And that is all hinged on how well you take care of them. If you allow them to discharge below 50%, you will rapidly lose the ability to maintain a charge and they won’t last that long. But I have found that 5 years is a good average.

PROPANE TANKS come… as they come, they are certified for 10 years worth of use. So you may need to get them re-certified after the 10-year mark.

It is commonly said that TIRES are good for 7 years from the date of manufacturing. But I sure would not count on it, on travel trailer tires. Even these Goodyear Endurance tires, the company that sold them to me said that they would probably be good for about 4 years. And it is by far better to judge on the caution side.

On SLIDE-OUTS, the wear item will be seals AND where the slide-out slides into the trailer. These rubber seals will age in time and become stiff or brittle and lose their ability to flex as the slide out goes IN and OUT. I would estimate by the time the trailer is 10 years old, you probably have lost a fair amount of your ability for the rubber to seal up against the slide out.

AWNING fabrics I would estimate at probably lasting roughly 10 years. This awning is 2 years old and there are already a few pin holes shining through — which you could coat with fingernail polish to prevent any further deterioration. Having the awning stored will not guarantee longevity on the awning because the final loop of the fabric will always be exposed to the sun. And that is probably where deterioration is going to show up first.

The industry standard today is a rubber ROOF. Your rubber roof comes with a 10-year warranty against deterioration. To extend the life of your rubber roof, you should consider coating it with a quality roof coating designed specifically for the type of material that your roof is made of. That will greatly extend the life of the roof.

Your vent covers should be… All your ROOF VENTS should be covered with a protective housing such as these Camco roof covers (vent covers) — which will prevent deterioration from ultraviolet rays and greatly extend the life of your roof vent.

Most SOLAR PANELS come with a standard 25-year warranty. So it is unlikely that you would have any issue with them. The plastic covers on top of air conditioners are relatively fragile and they will deteriorate in sunlight — probably in a matter of about 5 years.

I hope you have found this information useful. And it should give you a better idea of what you can expect as the service life of your new RV in the future. Thank you for watching!