Buying an older RV means, if you’re lucky, most of the important systems still work.
Expecting every little item to be in perfect condition is probably being a bit unrealistic.
Such is the case with the 20-year-old diesel pusher RV I recently purchased. Overall, with about 75,000 miles on the chassis, it’s really in the prime of its life.
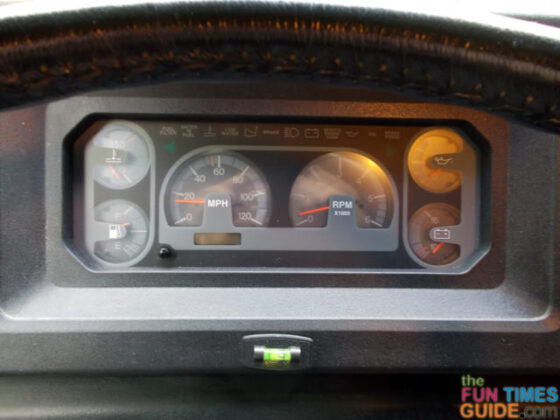
One of the items that’s no longer functioning is the digital readout odometer.

Digital odometers were the latest and greatest thing back in the early 90’s. Sadly the readout often faded into obscurity, or just plain quit altogether.
What are the odds of finding an exact replacement for something electronic that went out of production just as Bill Clinton was beginning his presidency?…Not good! Even if you find one, it’s going to cost you plenty.
There’s an easier way. A modern GPS speedometer can fix you up in no time!
Installing A GPS Speedometer In Your RV
I ordered a digital readout speedometer/odometer from AndyTac.com.
For about $160 (including shipping) they sent me a nice chrome-rimmed gauge that’s about 2 inches in diameter. It would look great in a dashboard lineup alongside the old style round oil pressure or battery amp gauge.
Punch a quick hole in your dashboard with a hole saw, hook power to it, and you’re good to go.
The problem was I didn’t have a spot on my dashboard within clear eyesight to insert another gauge. Also, not only was the odometer not working, the speedometer was off by a good 7 to 8 mph. That new digital speedometer was part of the plan as well.
My solution was to build a neat, clean, wooden enclosure for the gauge that would be attached to the top of the dashboard with a bit of Velcro. (Most motorhomes have all kinds of open real estate on top of the dashboard.)
A scrap piece of ¼-inch Luan plywood and a short length of “L” molding were cut to make a 4”x4” box. No nails or screws were used — just some quality waterproof glue and some hand spring clamps to hold things together while the glue set. No fancy tools — just a jig saw and table saw.


For convenience, I added a sliding door on the back side of the enclosure. If by chance I need a temporary speedometer for something else, I can store the power cord and GPS sensor inside the case. I used a typical 12-volt power plug because there’s an accessory socket close to where the box will sit.
The only connections are 12-volt positive and negative, and you need to position the GPS sensor in the open. Near or against the windshield, it needs to be out in the open to pick up the signal from the satellites.


Now I can easily keep track of mileage and servicing!
The best way to keep your older motor home rolling along for years to come is taking care of maintenance on a regular schedule. When the odometer or speedometer quits, replacing it with a very accurate GPS speedometer is a simple solution.
I’ve been involved in RVing for over 50 years — including camping, building, repairing, and even selling RVs and motorhomes. I’ve owned, used, and repaired almost every class and style of RV ever made. I do all of my own repair work. My other interests include cooking, living with an aging dog, and dealing with diabetic issues. If you can combine a grease monkey with a computer geek, throw in a touch of information nut and organization freak, combined with a little bit of storyteller… you’ve got a good idea of who I am. To date, I’ve shared my RV knowledge in over 300 articles here at The Fun Times Guide! Many of them have over 25K shares.